前言
这篇介绍一下react路由
路由是什么
一个单页应用里,可能会划分为多个页面,每个页面都是不同的组件
如果要在单页应用中完成组件的切换,需要实现下面两个功能:
- 根据不同的页面地址,展示不同的组件(核心)
- 完成无刷新的地址切换
我们把实现了以上两个功能的插件,称之为路由
react中的路由可以使用React Router
React Router
在页面中,要使用的库有两个
- react-router:路由核心库,包含诸多和路由功能相关的核心代码
- react-router-dom:利用路由核心库,结合实际的页面,实现跟页面路由密切相关的功能
安装
1
2
3
| # react-router-dom依赖react-router
# 安装的时候会把react-router一起安装了
yarn add react-router-dom
|
在React Router中,支持两种模式的路由
- Hash Router 哈希路由:根据url地址中的哈希值来确定显示的组件
hash的变化,不会导致页面刷新
这种模式的兼容性最好
- Borswer History Router 浏览器历史记录路由:使用History Api来记录路由
History表示浏览器的历史记录,它使用栈的方式存储
History Api让浏览器拥有了改变路径而不刷新页面的方式
它的基本API如下
- history.length:获取栈中数据量
- history.pushState:向当前历史记录栈中加入一条新的记录
- 参数1:附加的数据,自定义的数据,可以是任何类型
- 参数2:页面标题,目前大部分浏览器不支持
- 参数3:新的地址
- history.replaceState:将当前指针指向的历史记录,替换为某个记录
- 参数1:附加的数据,自定义的数据,可以是任何类型
- 参数2:页面标题,目前大部分浏览器不支持
- 参数3:新的地址
路由组件
Router组件
它本身不做任何展示,仅提供路由模式配置。
另外,该组件会产生一个上下文,上下文中会提供一些实用的对象和方法,供其他相关组件使用
它有两种实例
HashRouter:该组件,使用hash模式匹配BrowserRouter:该组件,使用BrowserHistory模式匹配
通常情况下,Router组件只有一个,将该组件包裹整个页面
Route组件
它的功能是根据不同的地址,展示不同的组件。
它会从根路径开始,匹配path配置的路径,只要能匹配上,就渲染组件
配置如下
- path:匹配的路径
- 默认情况下,不区分大小写,可以设置sensitive属性为true,来区分大小写
- 默认情况下,只匹配初始目录,如果要精确匹配,配置exact属性为true
- 如果不写path,则会匹配任意路径
- component:匹配成功后要显示的组件
- children
- 传递React元素,无论是否匹配,一定会显示children,并且会忽略component属性
- 传递一个函数,该函数有多个参数,这些参数来自于上下文,该函数返回react元素,则一定会显示返回的元素,并且忽略component属性
Route组件可以写到任意的地方,只要保证它是Router组件的后代元素
比如下面的例子
1
2
3
4
5
6
7
8
9
10
11
12
13
14
15
16
17
18
19
20
21
22
23
24
25
26
27
28
29
30
31
32
33
34
35
36
37
38
39
| import React from 'react'
import { BrowserRouter as Router, Route } from "react-router-dom"
function A() {
return <h1>组件A</h1>
}
function AChildD() {
return <h1>组件D</h1>
}
function B() {
return <h1>组件B</h1>
}
function C() {
return <h1>组件C</h1>
}
function E() {
return <h1>组件E</h1>
}
export default function App() {
return (
<Router>
<Route path="/a" component={A} />
<Route path="/b" component={B} />
<Route path="/a/d" exact={true} component={AChildD}/>
<Route component={C} />
<Route path='/abc' children={E}/>
</Router>
)
}
|
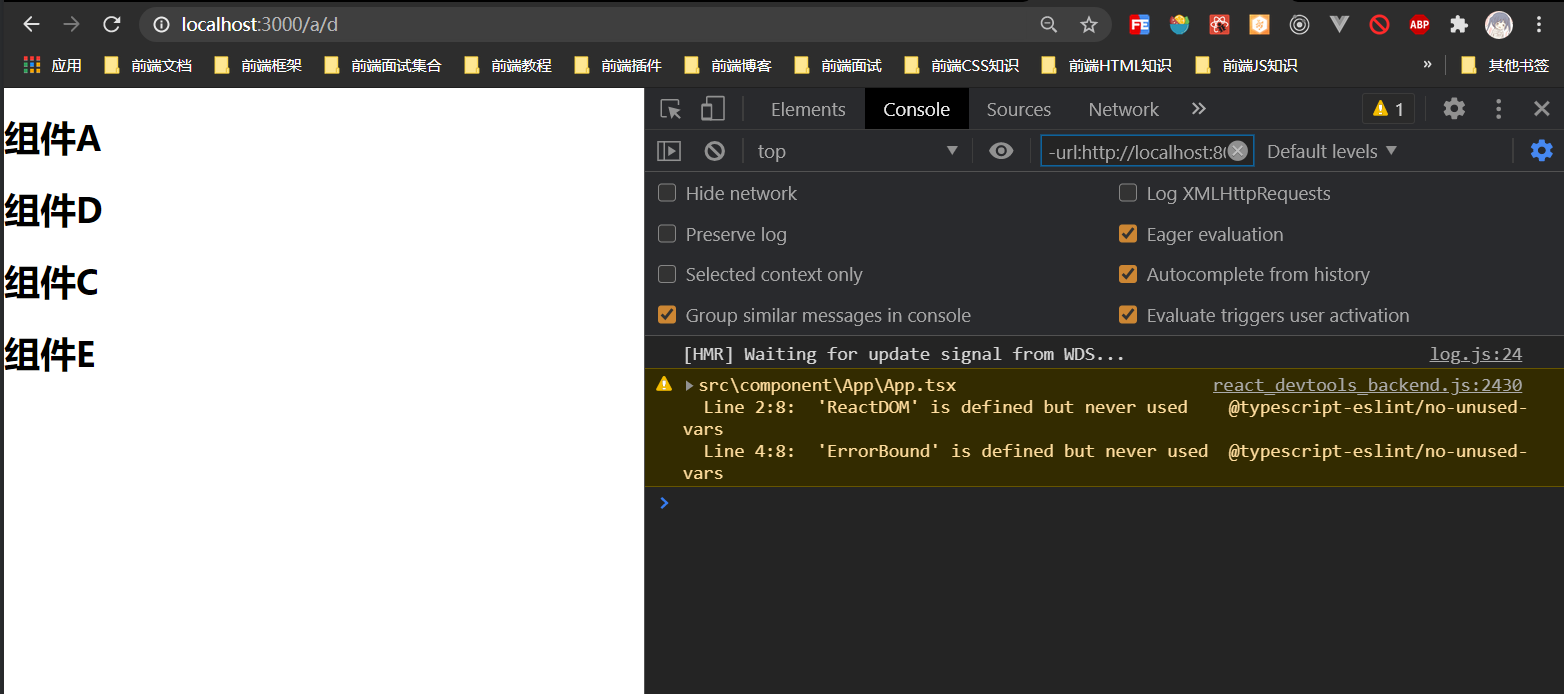
渲染结果
Switch组件
写到Switch组件中的Route组件,当匹配到第一个Route后,会立即停止匹配
由于Switch组件会循环所有子元素,然后让每个子元素去完成匹配,若匹配到,则渲染对应的组件,然后停止循环。因此,不能在Switch的子元素中使用除Route外的其他组件。
使用示例如下
1
2
3
4
5
6
7
8
9
10
11
12
13
14
15
16
17
18
19
20
21
22
23
24
25
26
27
28
29
30
31
32
33
| import React from 'react'
import { BrowserRouter as Router, Route, Switch } from "react-router-dom"
function A() {
return <h1>组件A</h1>
}
function B() {
return <h1>组件B</h1>
}
function C() {
return <h1>
找不到页面
</h1>
}
export default function App() {
return (
<Router>
<Switch>
<Route path="/a" component={A} />
<Route path="/a/b" component={B} />
<Route component={C} />
</Switch>
</Router>
)
}
|
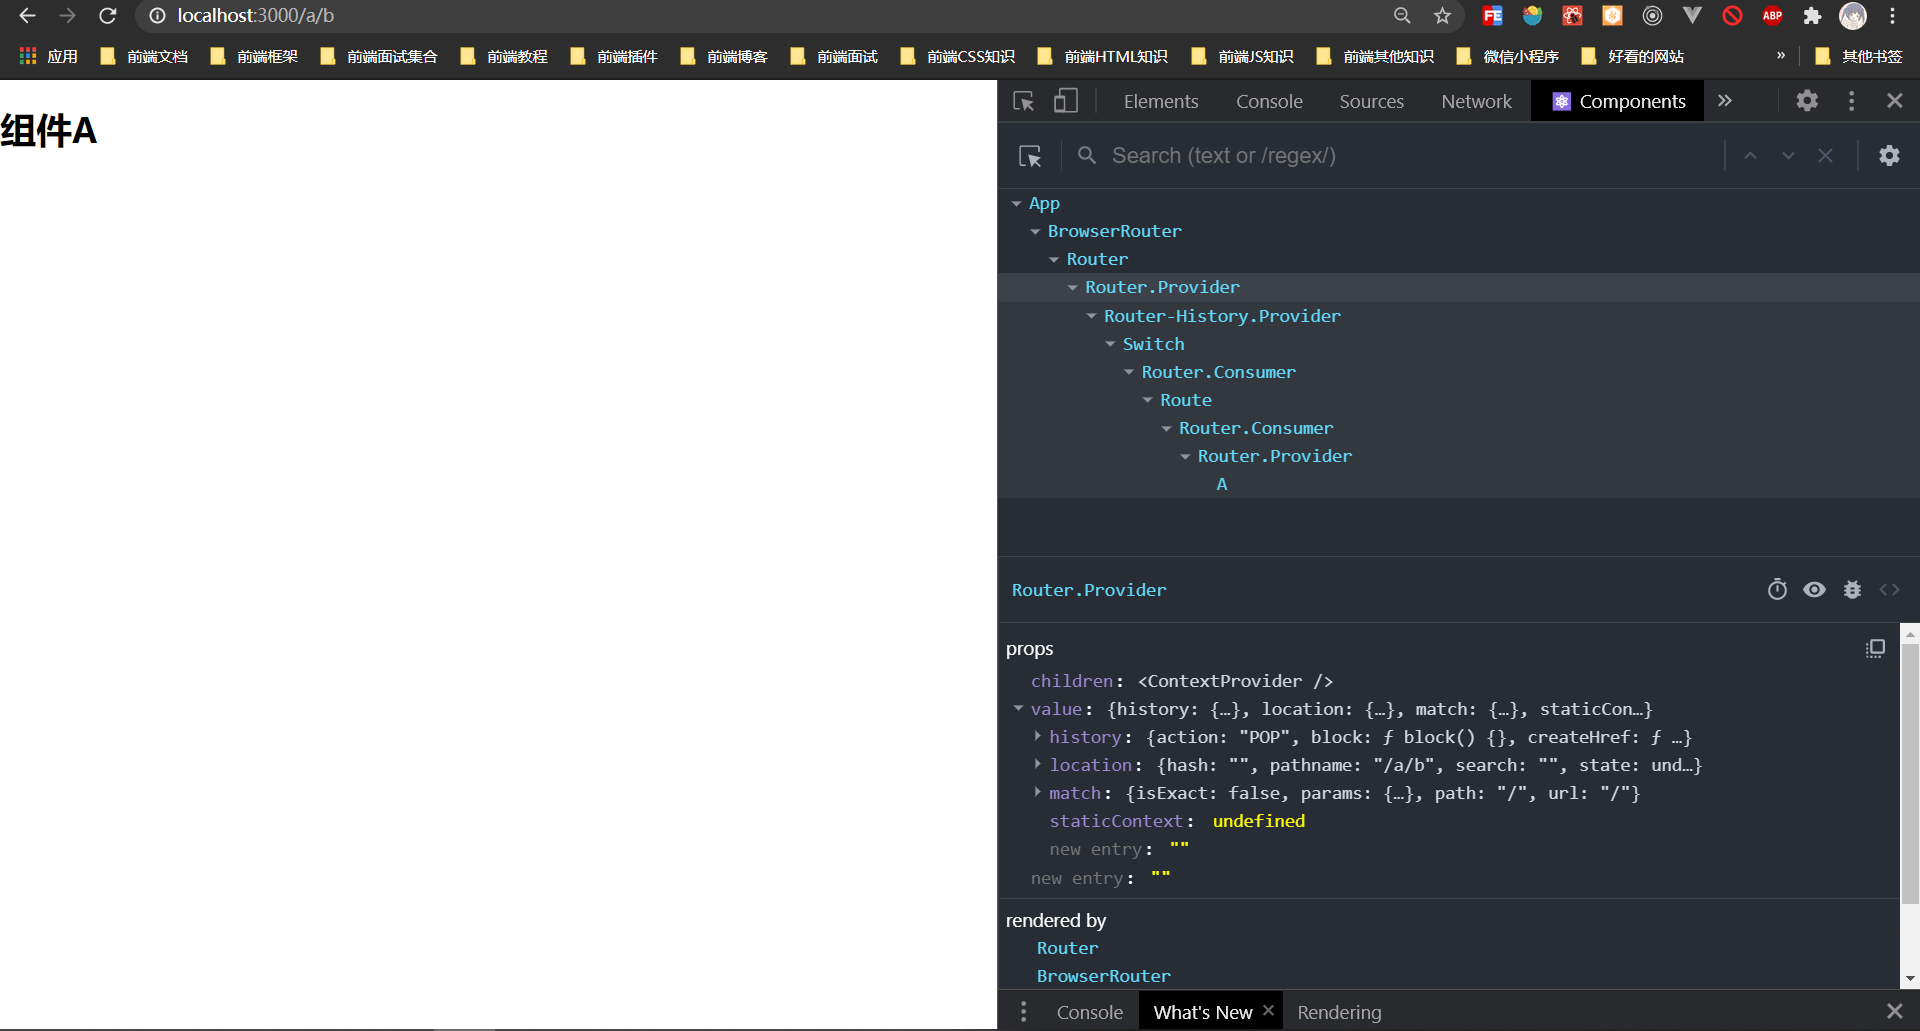
路由信息
Router组件会创建一个上下文,并且,向上下文中注入一些信息
该上下文对开发者是隐藏的,Route组件若匹配到了地址,则会将这些上下文中的信息作为属性传入对应的组件
比如下面的代码
1
2
3
4
5
6
7
8
9
10
11
12
13
14
15
16
17
18
19
20
| import React from 'react'
import { BrowserRouter as Router, Route, Switch } from "react-router-dom"
function A(props) {
console.log(props)
return <h1>组件A</h1>
}
export default function App() {
return (
<Router>
<Switch>
<Route path="/a" component={A} />
</Switch>
</Router>
)
}
|
输出如下
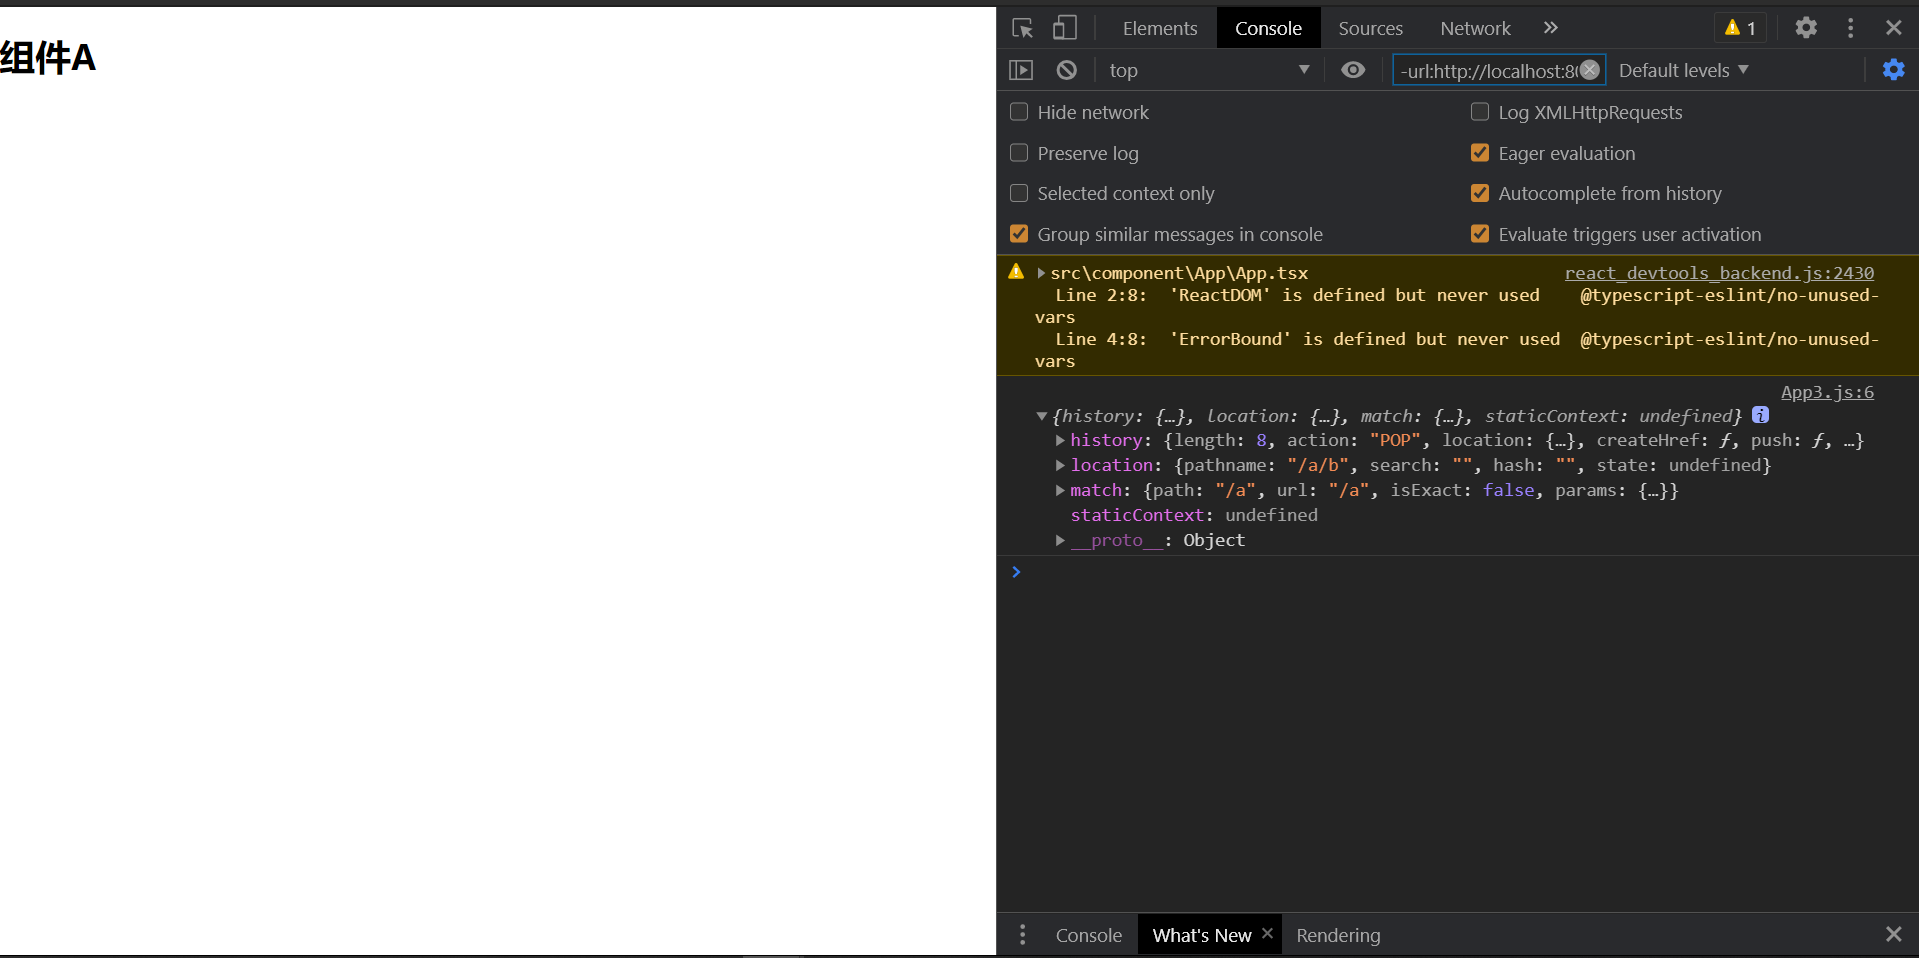
下面介绍一下这些信息
history
注意,它并不是window.history对象,我们利用该对象无刷新跳转地址
那为什么没有直接使用history对象呢
- React-Router中有两种模式:Hash、History,如果直接使用window.history,只能支持一种模式
- 当使用windows.history.pushState方法时,没有办法收到任何通知,将导致React无法知晓地址发生了变化,结果导致无法重新渲染组件
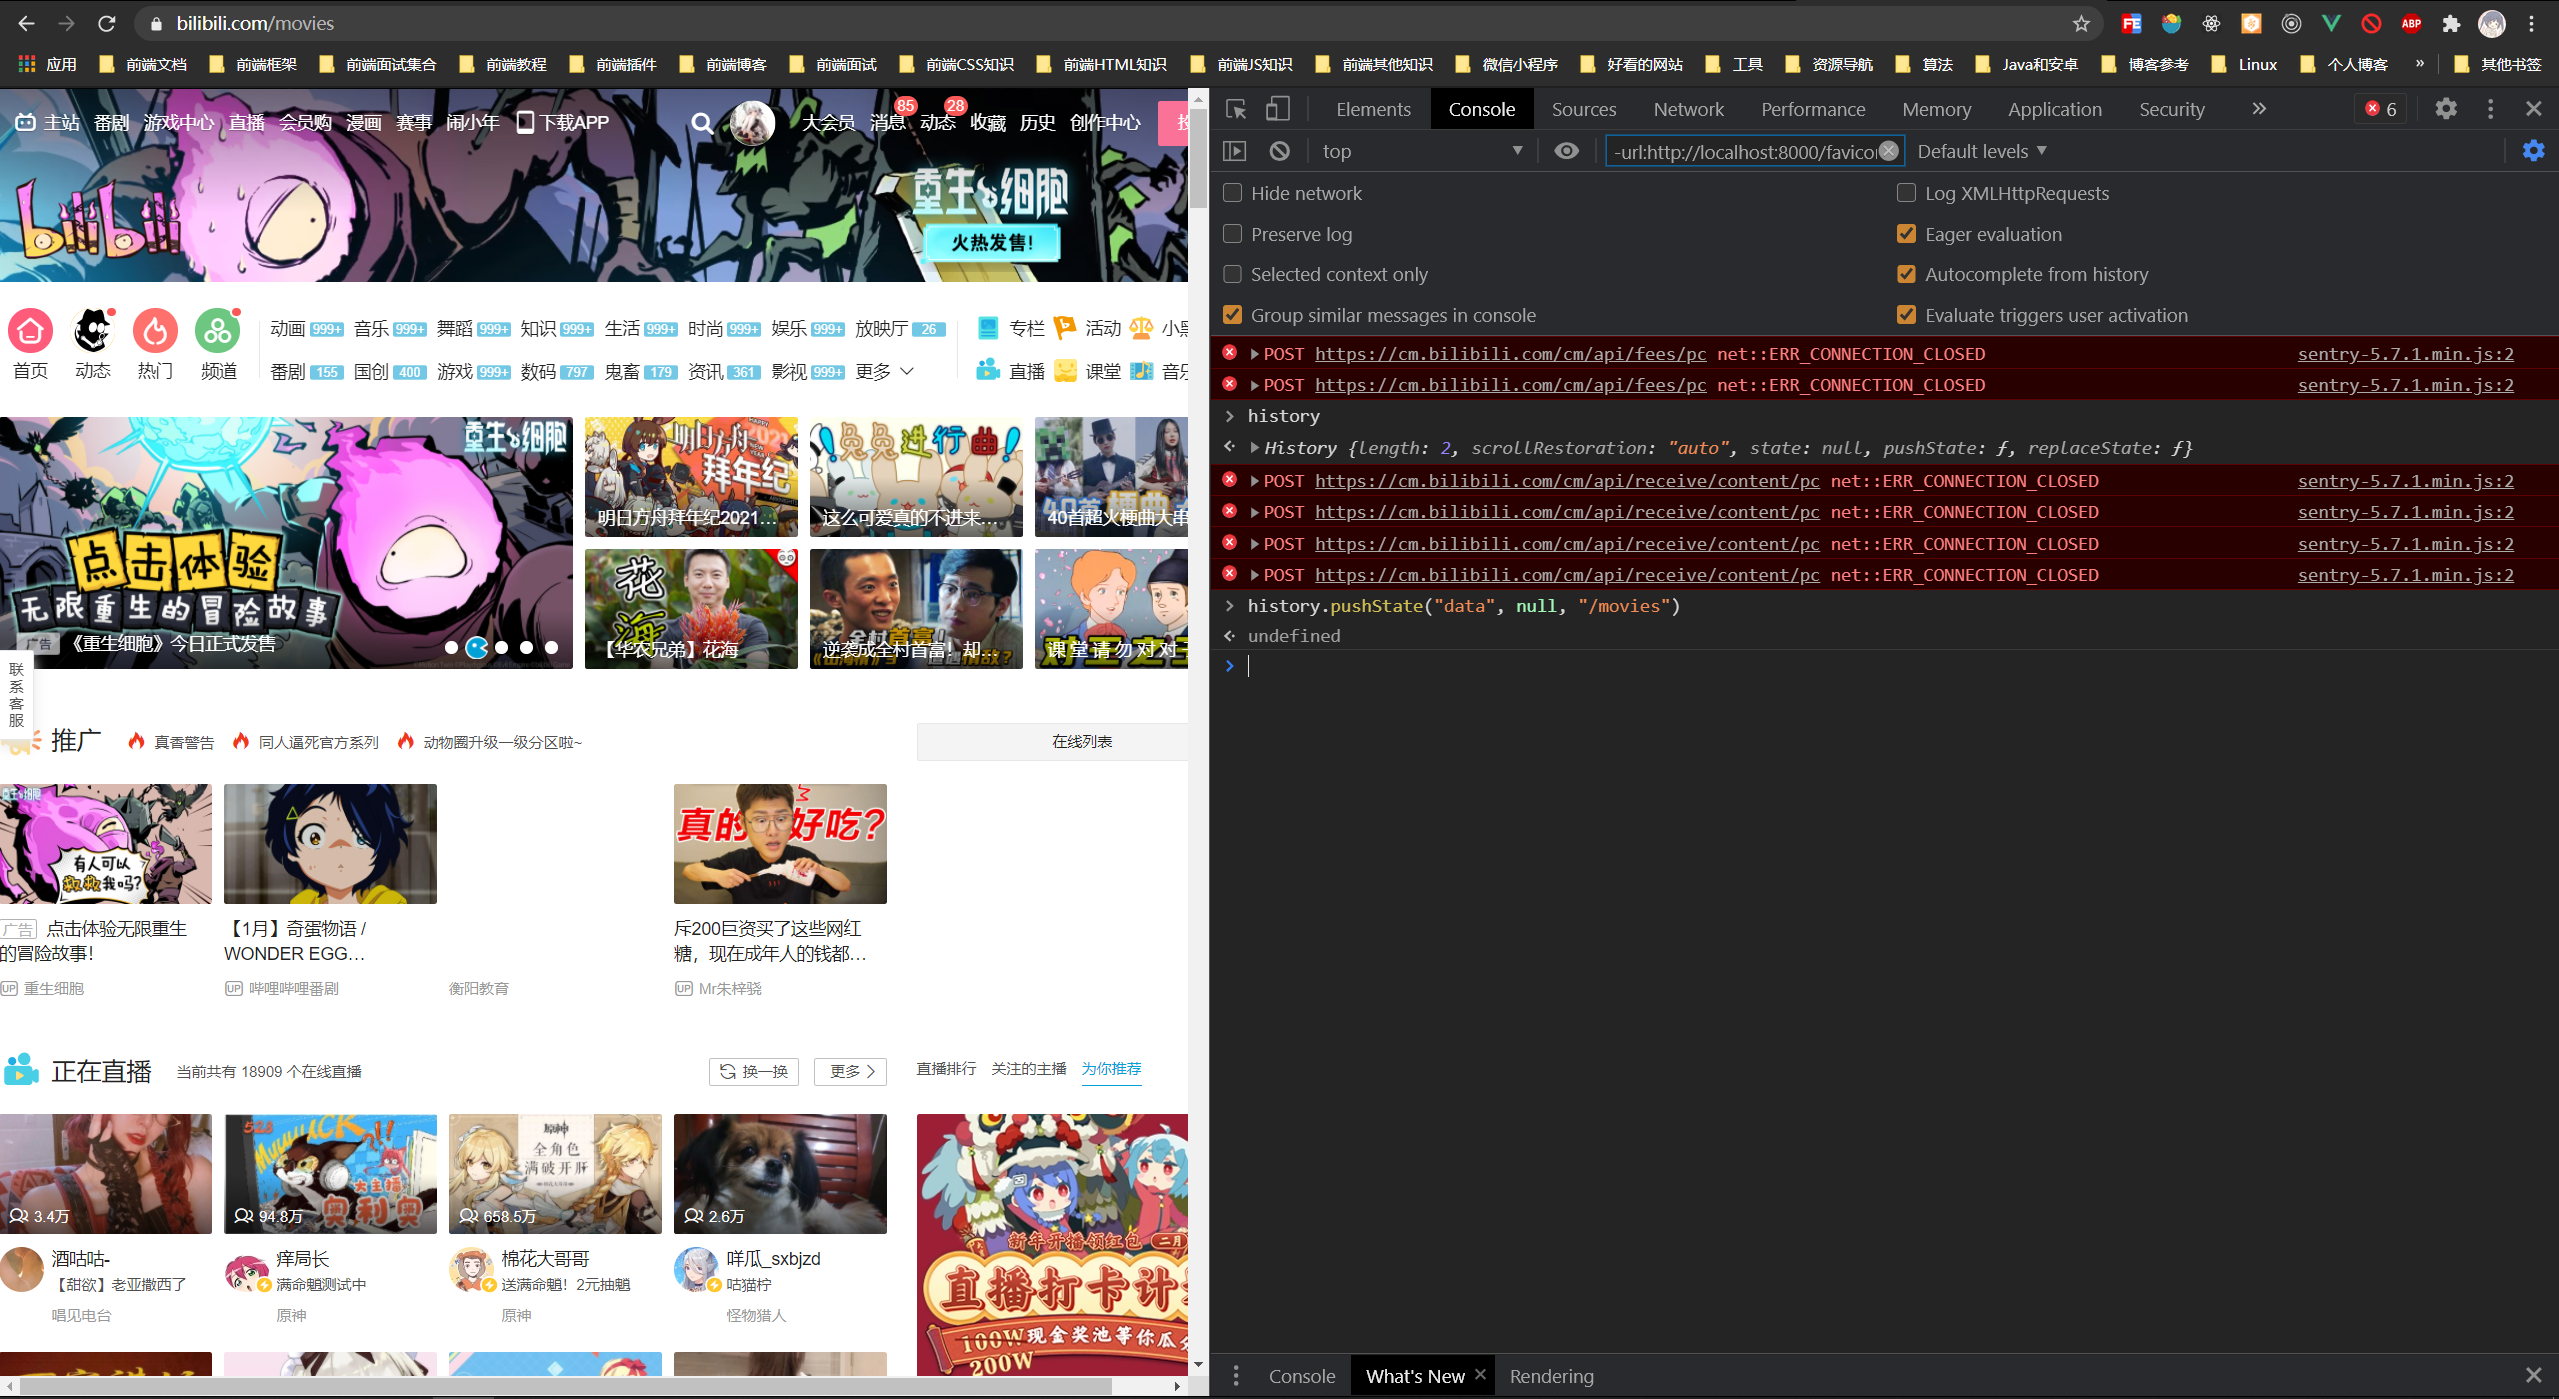
history里面包含下面的对象
- push:将某个新的地址入栈(历史记录栈)
- replace:将某个新的地址替换掉当前栈中的地址
- go: 与window.history一致
- forward: 与window.history一致
- back: 与window.history一致
你可以使用下面的方法来使用
1
2
3
4
5
6
7
8
9
10
11
12
13
14
15
16
17
18
19
20
21
22
23
24
25
26
27
28
29
30
31
32
33
34
35
36
37
38
39
40
41
42
43
44
45
46
47
48
49
50
51
52
| import React from 'react'
import { BrowserRouter as Router, Route, Switch } from "react-router-dom"
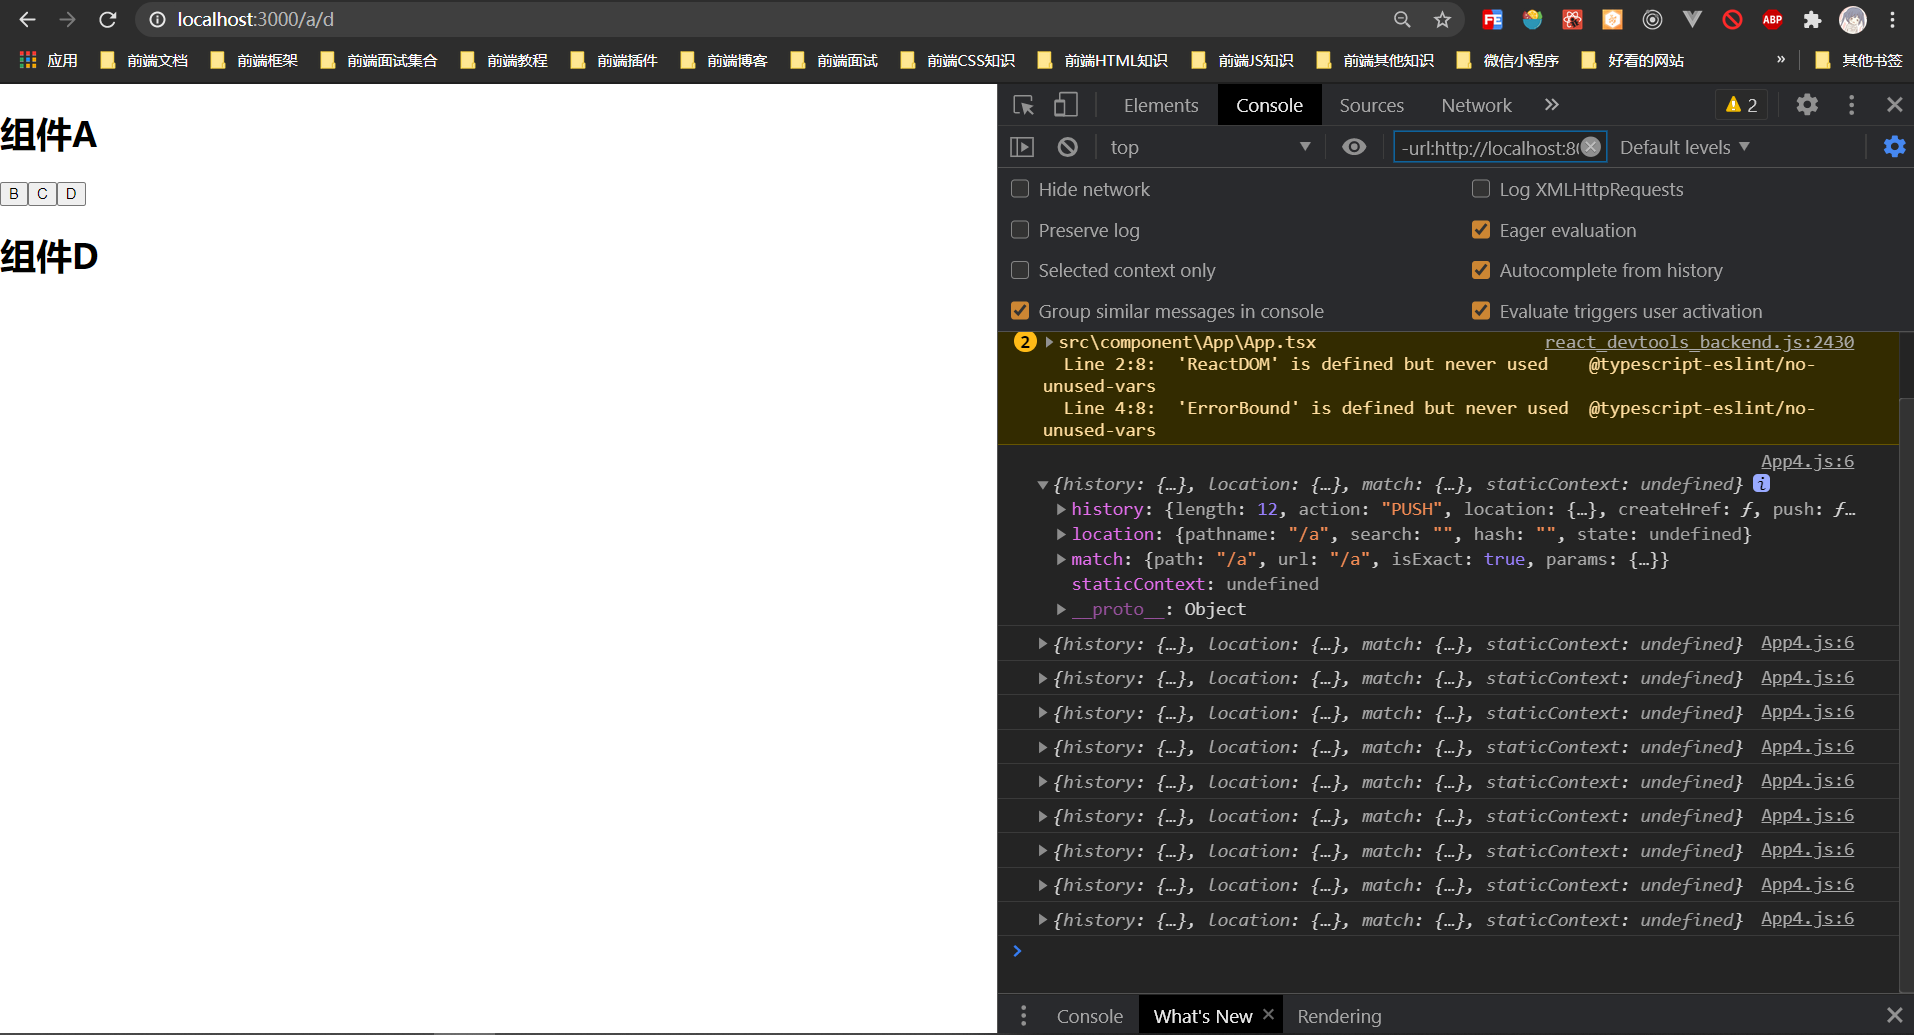
function A(props) {
console.log(props)
const history = props.history;
return (
<div>
<h1>组件A</h1>
<div>
<button onClick={() => {history.push("/a/b?key=b", "B状态数据")}}>B</button>
<button onClick={() => {history.push("/a/c?key=c", "C状态数据")}}>C</button>
<button onClick={() => {history.push("/a/d?key=d", "D状态数据")}}>D</button>
</div>
<div>
<Switch>
<Route exact={true} path={'/a/b'} component={B}/>
<Route exact={true} path={'/a/c'} component={C}/>
<Route exact={true} path={'/a/d'} component={D}/>
</Switch>
</div>
</div>
)
}
function B() {
return <h1>组件B</h1>
}
function C() {
return <h1>组件C</h1>
}
function D() {
return <h1>组件D</h1>
}
export default function App() {
return (
<Router>
<Switch>
<Route path="/a" component={A} />
</Switch>
</Router>
)
}
|
效果如下
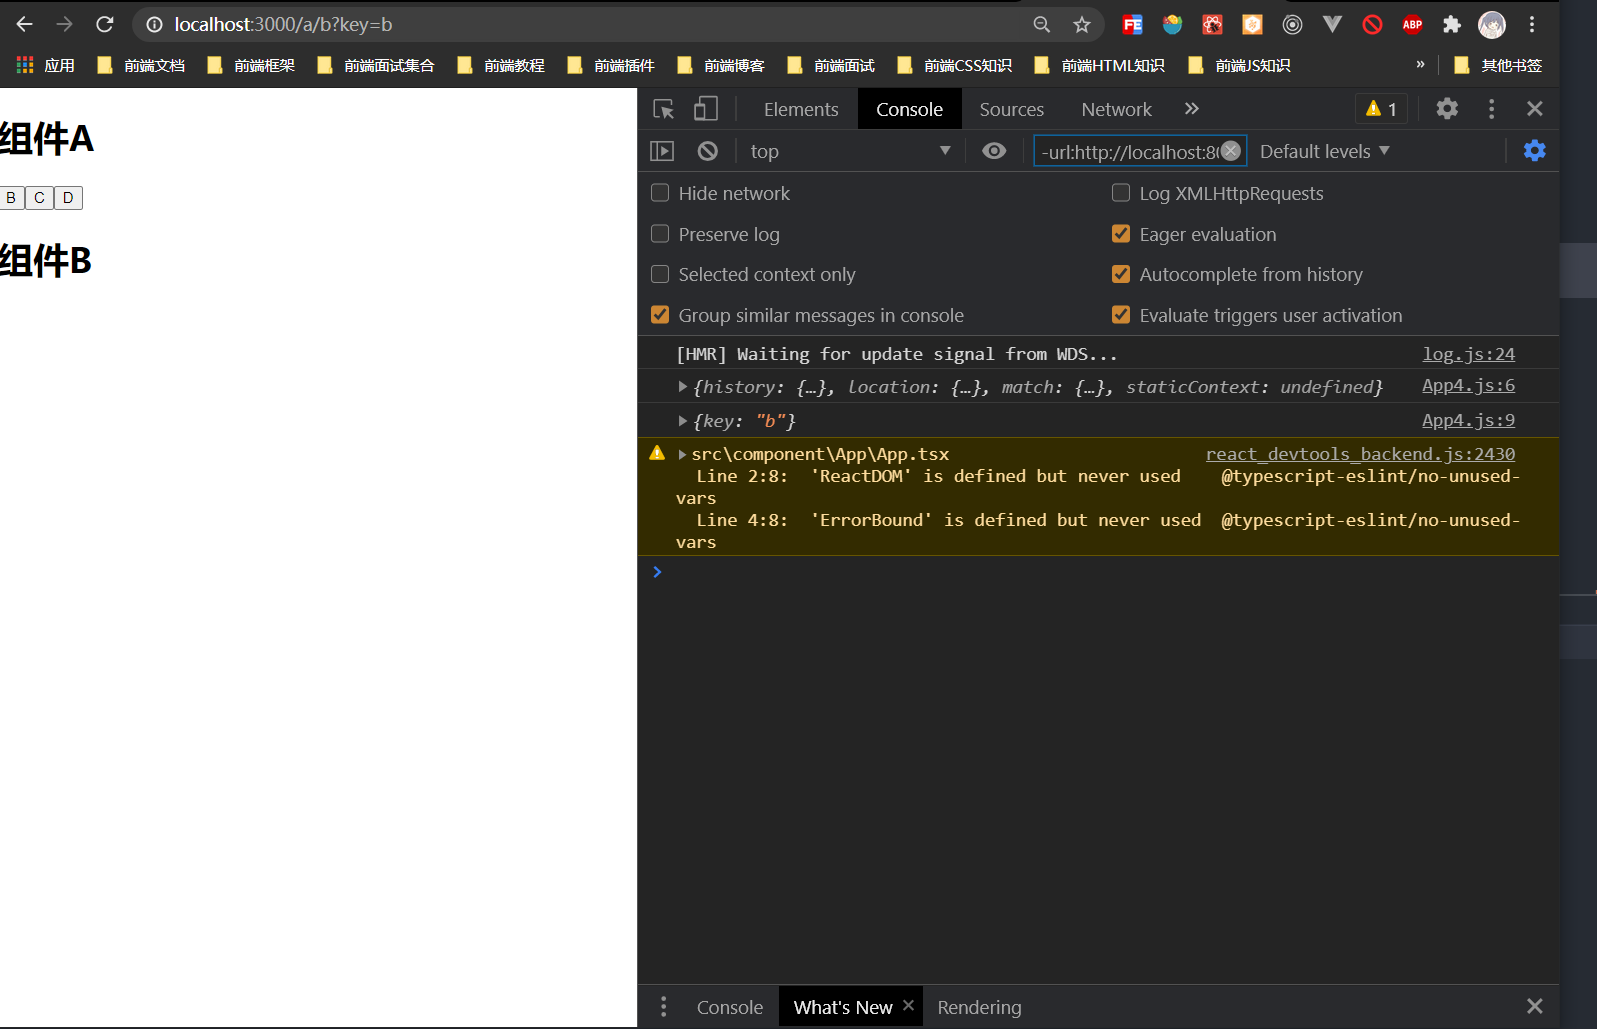
location
location与history.location完全一致,是同一个对象,但是,与window.location不同
location对象中记录了当前地址的相关信息
- hash:页面hash
- pathname:页面的path
- state:push时传入的数据
- search:传入的参数

我们通常使用第三方库query-string,用于解析地址栏中的数据
使用也非常简单
1
2
3
4
5
6
7
8
9
10
11
12
13
14
15
16
17
18
19
20
21
22
23
24
| function A(props) {
console.log(props)
const history = props.history;
const data = queryString.parse(props.location.search);
console.log(data)
return (
<div>
<h1>组件A</h1>
<div>
<button onClick={() => {history.push("/a/b?key=b", "B状态数据")}}>B</button>
<button onClick={() => {history.push("/a/c?key=c", "C状态数据")}}>C</button>
<button onClick={() => {history.push("/a/d?key=d", "D状态数据")}}>D</button>
</div>
<div>
<Switch>
<Route exact={true} path={'/a/b'} component={B}/>
<Route exact={true} path={'/a/c'} component={C}/>
<Route exact={true} path={'/a/d'} component={D}/>
</Switch>
</div>
</div>
)
}
|
match
该对象中保存了路由匹配的相关信息
- isExact:事实上,当前的路径和路由配置的路径是否是精确匹配的
- params:获取路径中对应的数据
- path:路径规则
- url:页面路径
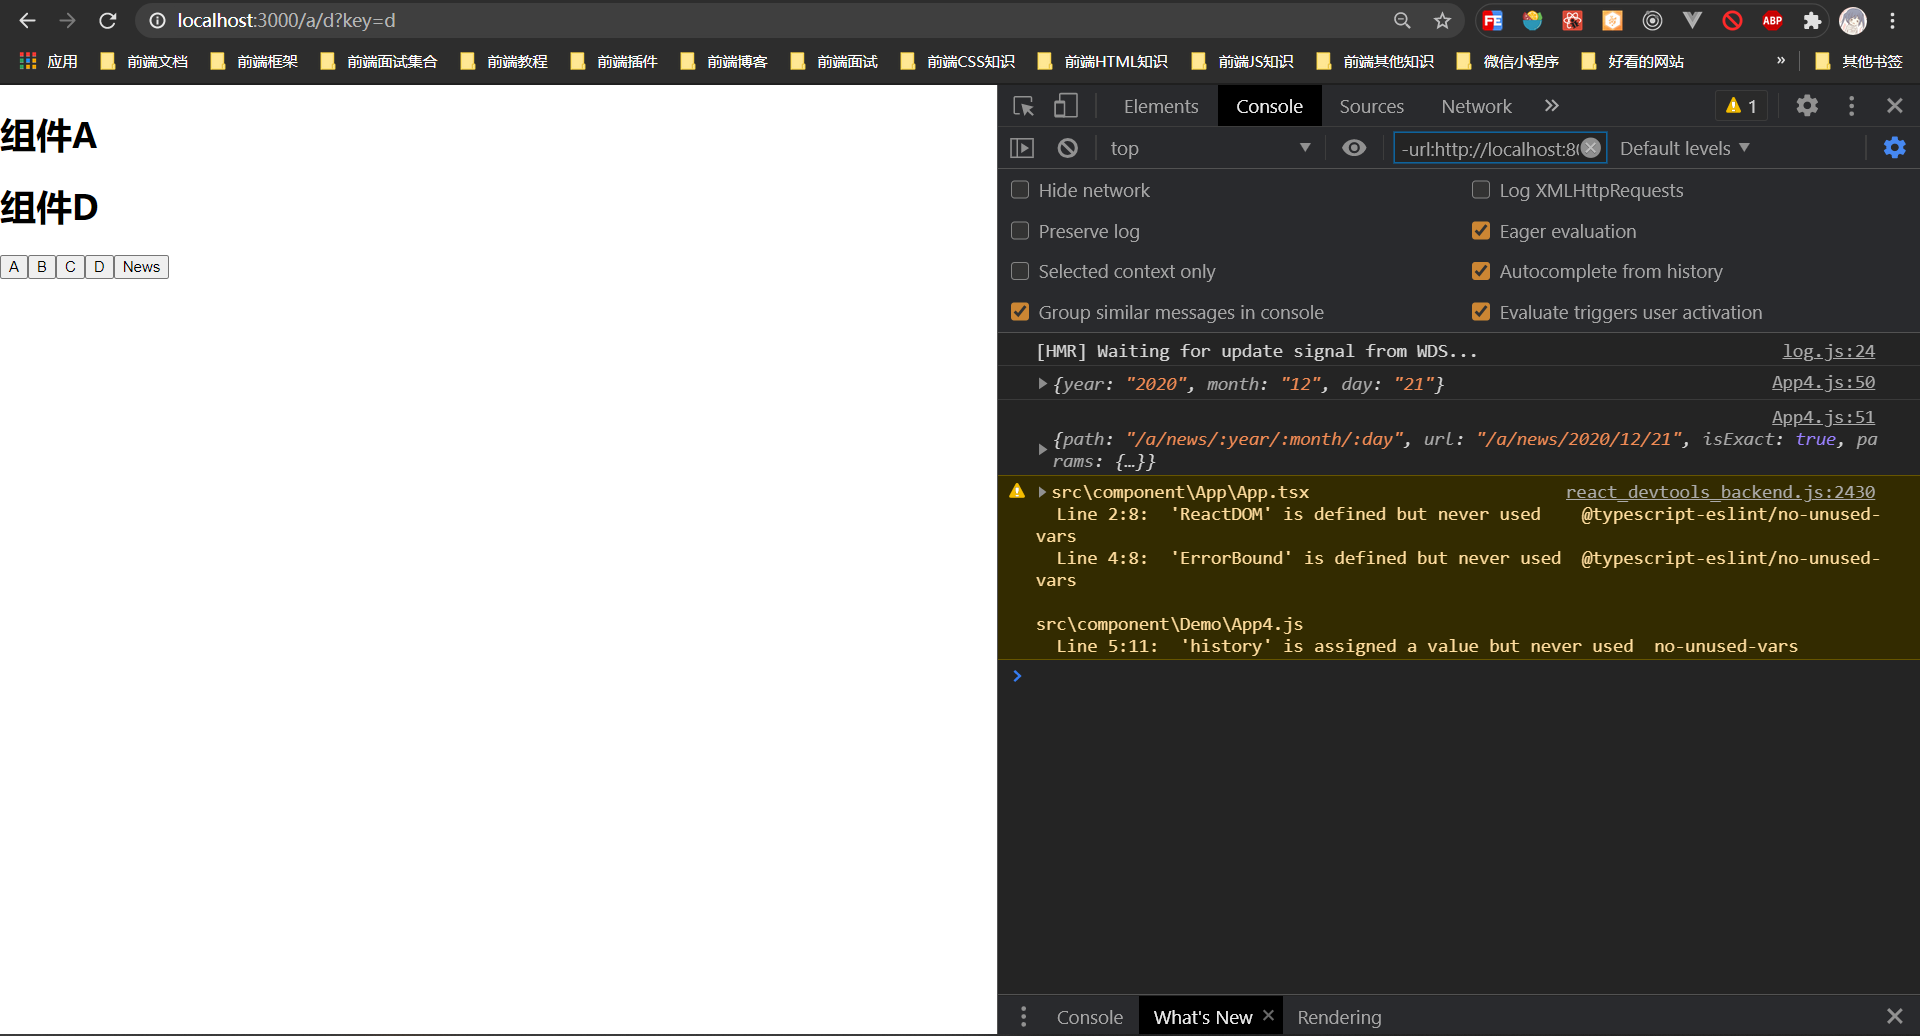
params的使用示例如下
1
2
3
4
5
6
7
8
9
10
11
12
13
14
15
16
17
18
19
20
21
22
23
24
25
26
27
28
29
30
31
32
33
34
35
36
37
38
39
40
41
42
43
44
45
46
47
48
49
50
51
52
53
54
55
56
57
58
59
| import React from 'react'
import { BrowserRouter as Router, Route, Switch } from "react-router-dom"
import queryString from "query-string";
function A(props) {
const history = props.history;
return (
<div>
<h1>组件A</h1>
<div>
<button onClick={() => {history.push("/a/b?key=b", "B状态数据")}}>B</button>
<button onClick={() => {history.push("/a/c?key=c", "C状态数据")}}>C</button>
<button onClick={() => {history.push("/a/d?key=d", "D状态数据")}}>D</button>
<button onClick={() => {history.push("/a/news/2020/12/21")}}>News</button>
</div>
<div>
<Switch>
<Route exact={true} path={'/a/b'} component={B}/>
<Route exact={true} path={'/a/c'} component={C}/>
<Route exact={true} path={'/a/d'} component={D}/>
<Route exact={true} path={'/a/news/:year/:month/:day'} component={News}/>
</Switch>
</div>
</div>
)
}
function B() {
return <h1>组件B</h1>
}
function C() {
return <h1>组件C</h1>
}
function D() {
return <h1>组件D</h1>
}
function News(props) {
let params = props.match.params;
console.log(params);
console.log(props.match)
return <h1>
{`${params.year}年 ${params.month}月 ${params.day}日`}
</h1>
}
export default function App() {
return (
<Router>
<Switch>
<Route path="/a" component={A} />
</Switch>
</Router>
)
}
|

这里的path使用了string pattern(字符串正则),而react-router会Path-to-RegExp,它可以将一个字符串正则转换成一个真正的正则表达式。
到现在,有四种方式可以向某个页面传递数据:
- 使用state:在push页面时,加入state,一般不使用,因为如果把页面url复制粘贴重新打开网页的话,信息会丢失
- 利用search:把数据填写到地址栏中的?后
- 利用hash:把数据填写到hash后
- params:把数据填写到路径中
让非路由组件获取路由信息
某些组件,并没有直接放到Route中,而是嵌套在其他普通组件中,因此,它的props中没有路由信息,如果这些组件需要获取到路由信息,可以使用下面两种方式:
- 将路由信息从父组件传递到子组件
- 使用react-router提供的高阶组件withRouter,包装要使用的组件,该高阶组件会返回一个新组件,新组件将向提供的组件注入路由信息。
示例如下
1
2
3
4
5
6
7
8
9
10
11
12
13
14
15
16
17
18
19
20
21
22
23
24
25
26
27
28
29
30
31
32
33
34
35
36
37
38
39
40
41
42
43
44
45
| import React from 'react'
import { BrowserRouter as Router, Route, Switch, withRouter} from "react-router-dom"
function A(props) {
const history = props.history;
return (
<div>
<h1>组件A</h1>
<div>
<Switch>
<Route exact={true} path={'/a/b'} component={B}/>
<Route exact={true} path={'/a/c'} component={C}/>
<Route exact={true} path={'/a/d'} component={D}/>
<Route exact={true} path={'/a/news/:year/:month/:day'} component={News}/>
</Switch>
</div>
</div>
)
}
function ButtonContainer(props) {
let history = props.history;
return (
<div className={"container"}>
<button onClick={() => {history.push("/a?key=a", "A状态数据")}}>A</button>
<button onClick={() => {history.push("/a/b?key=b", "B状态数据")}}>B</button>
<button onClick={() => {history.push("/a/c?key=c", "C状态数据")}}>C</button>
<button onClick={() => {history.push("/a/d?key=d", "D状态数据")}}>D</button>
<button onClick={() => {history.push("/a/news/2020/12/21")}}>News</button>
</div>
)
}
const WithRouterButtonContainer = withRouter(ButtonContainer)
export default function App() {
return (
<Router>
<Switch>
<Route path="/a" component={A} />
</Switch>
<WithRouterButtonContainer/>
</Router>
)
}
|
其他组件
这里介绍一下react router里的一些其他常用的组件
Link
生成一个a元素用于跳转页面,它的配置属性如下
- to
- 字符串:跳转的目标地址
- 对象:
- pathname:url路径
- search:同location.search
- hash:同location.hash
- state:附加的状态信息
- replace:表示是否使用替换当前地址的方式,默认是false
- innerRef:可以将内部的a元素的ref附着在传递的对象或函数参数上
大概原理是这样的
1
2
3
4
5
6
7
8
9
10
11
12
13
| import React from 'react'
import {withRouter} from "react-router-dom"
function Link(props) {
return (
<a href={props.to} onClick={(e) => {
e.preventDefault();
props.history.push(props.to)
}}>{props.children}</a>
)
}
export default withRouter(Link);
|
NavLink
是一种特殊的Link,但它有额外的功能:根据当前地址和链接地址,来决定该链接的样式
下面是它的配置
- activeClassName: 匹配时使用的类名
- activeStyle: 匹配时使用的内联样式
- exact: 是否精确匹配
- sensitive:匹配时是否区分大小写
- strict:是否严格匹配最后一个斜杠
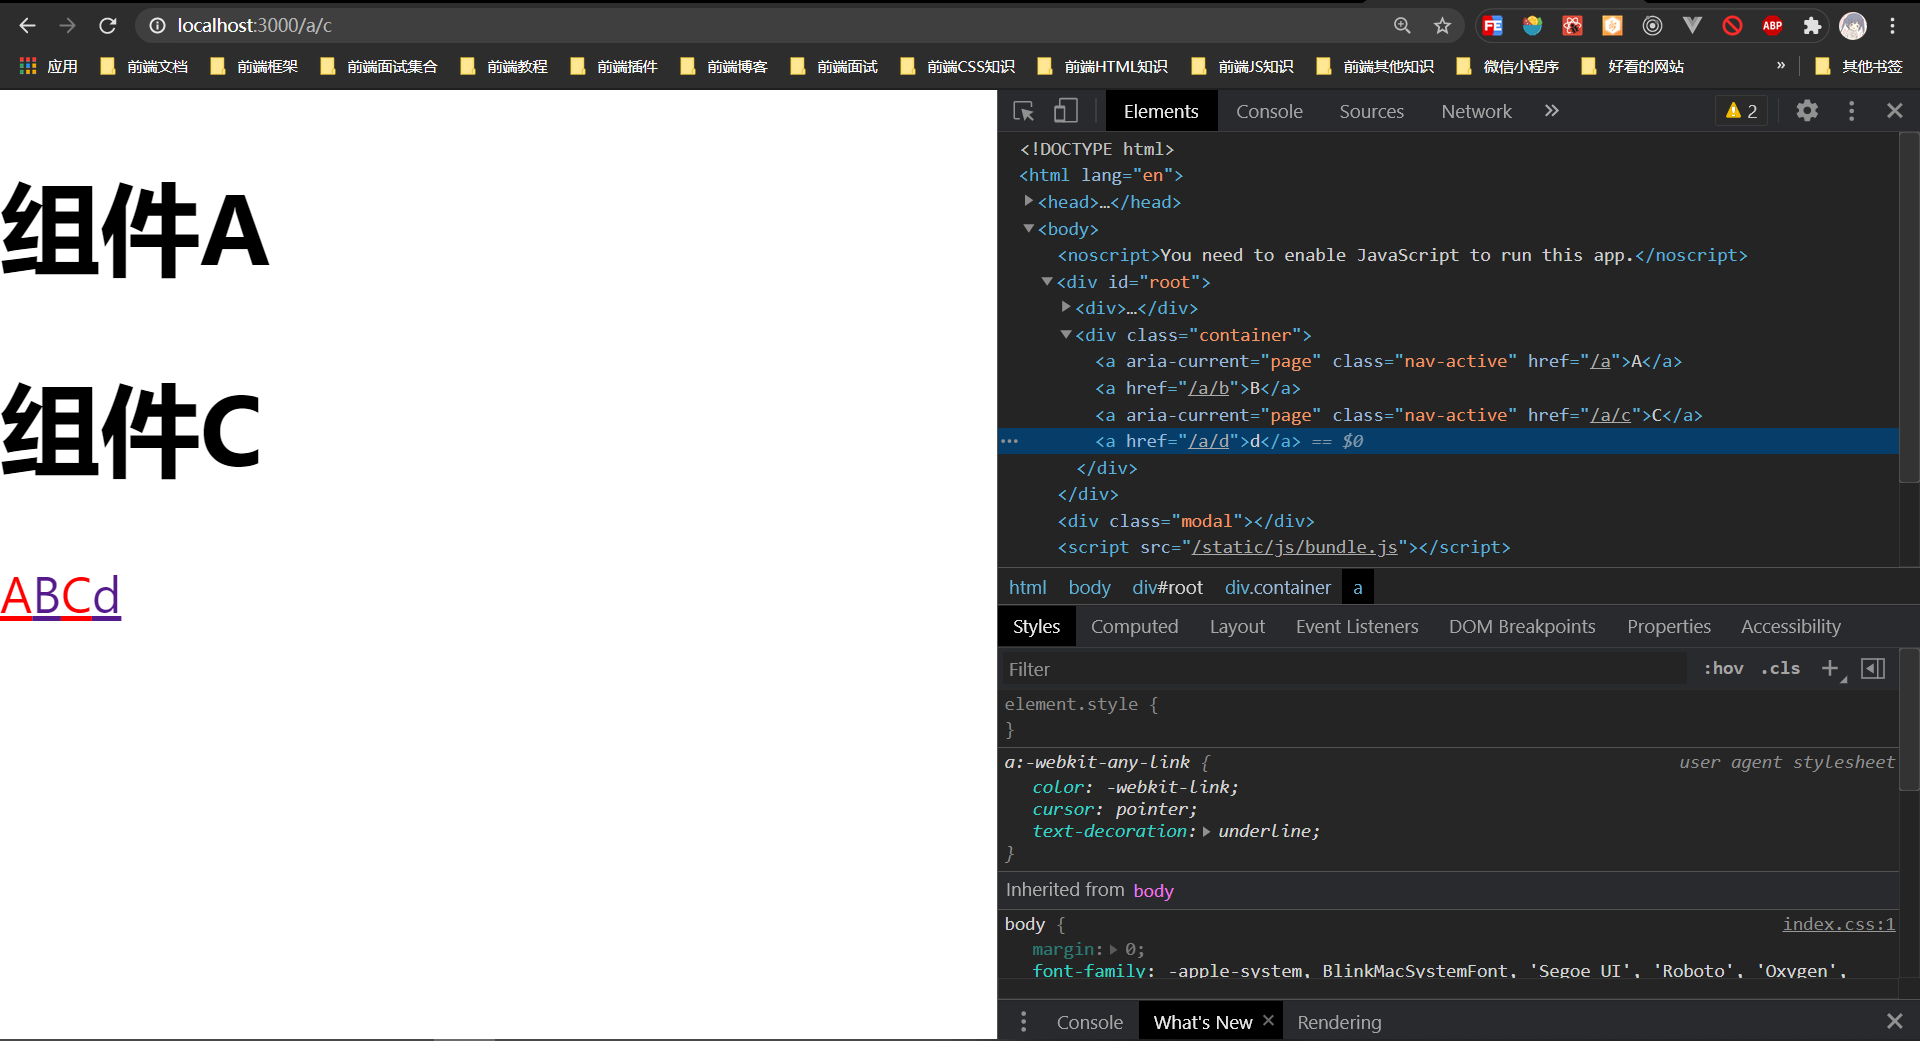
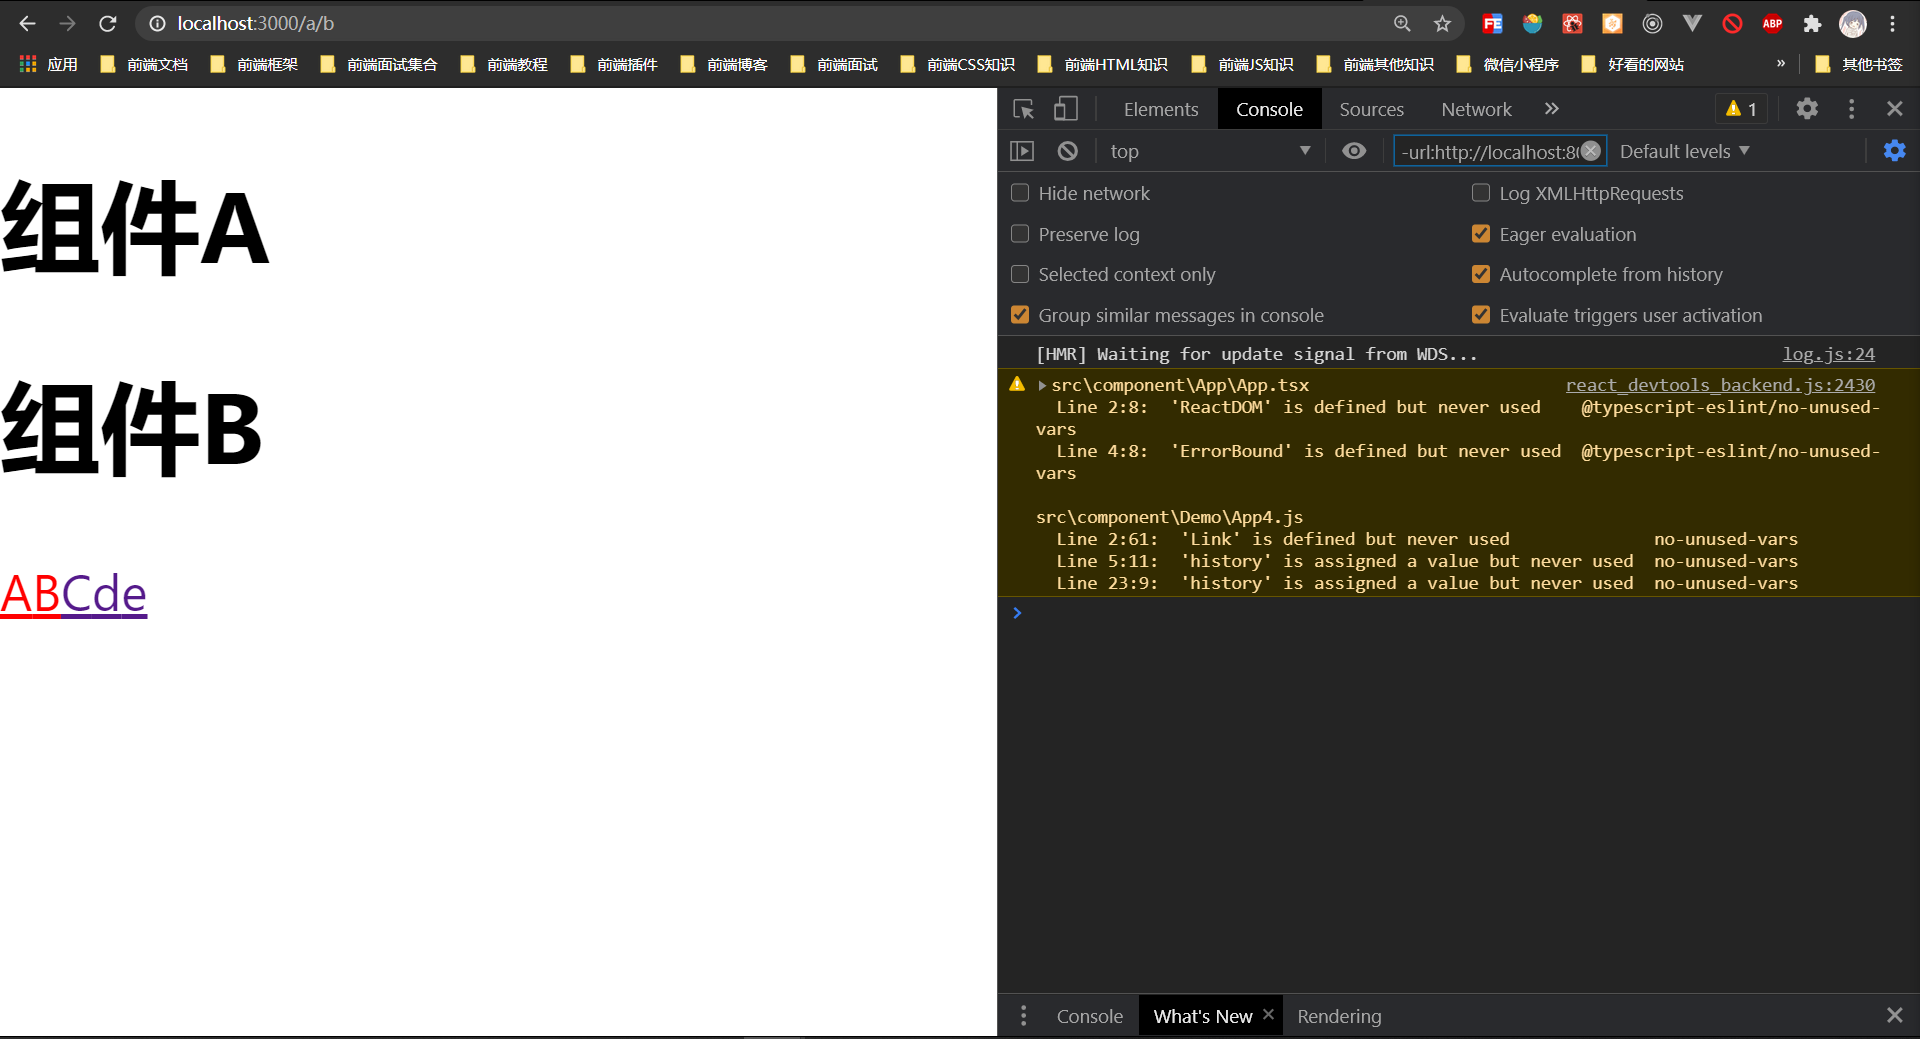
举个例子
1
2
3
4
5
6
7
8
9
10
11
12
13
14
15
16
17
18
19
20
21
22
23
24
25
26
27
28
29
30
31
32
33
34
35
36
37
38
39
40
41
42
43
44
| import React from 'react'
import {BrowserRouter as Router, Route, Switch, withRouter, Link, NavLink} from "react-router-dom"
import Style from "./App.module.scss";
function A(props) {
const history = props.history;
return (
<div>
<h1>组件A</h1>
<div>
<Switch>
<Route exact={true} path={'/a/b'} component={B}/>
<Route exact={true} path={'/a/c'} component={C}/>
<Route exact={true} path={'/a/d'} component={D}/>
</Switch>
</div>
</div>
)
}
function ButtonContainer(props) {
let history = props.history;
return (
<div className={"container"}>
<NavLink activeClassName={Style.navActive} to={"/a"}>A</NavLink>
<NavLink activeClassName={Style.navActive} to={"/a/b"}>B</NavLink>
<NavLink activeClassName={Style.navActive} to={"/a/c"}>C</NavLink>
<NavLink activeClassName={Style.navActive} to={"/a/d"}>d</NavLink>
</div>
)
}
const WithRouterButtonContainer = withRouter(ButtonContainer)
export default function App() {
return (
<Router>
<Switch>
<Route path="/a" component={A} />
</Switch>
<WithRouterButtonContainer/>
</Router>
)
}
|
Redirect
重定向组件,当加载到该组件时,会自动跳转(无刷新)到另外一个地址
- to:跳转的地址
- push: 默认为false,表示跳转使用替换的方式,设置为true后,则使用push的方式跳转
- from:当匹配到from地址规则时才进行跳转
- exact: 是否精确匹配from
- sensitive:from匹配时是否区分大小写
- strict:from是否严格匹配最后一个斜杠
使用下面的代码
1
2
3
4
5
6
7
8
9
10
11
12
13
14
15
16
17
18
19
20
21
22
23
24
25
26
27
28
29
30
| function A(props) {
const history = props.history;
return (
<div>
<h1>组件A</h1>
<div>
<Switch>
<Route exact={true} path={'/a/b'} component={B}/>
<Route exact={true} path={'/a/c'} component={C}/>
<Route exact={true} path={'/a/d'} component={D}/>
<Route exact={true} path={'/a/news/:year/:month/:day'} component={News}/>
<Redirect from="/a/e" to="/a/b"/>
</Switch>
</div>
</div>
)
}
function ButtonContainer(props) {
let history = props.history;
return (
<div className={"container"}>
<NavLink activeClassName={Style.navActive} to={"/a"}>A</NavLink>
<NavLink activeClassName={Style.navActive} to={"/a/b"}>B</NavLink>
<NavLink activeClassName={Style.navActive} to={"/a/c"}>C</NavLink>
<NavLink activeClassName={Style.navActive} to={"/a/d"}>d</NavLink>
<NavLink activeClassName={Style.navActive} to={"/a/e"}>e</NavLink>
</div>
)
}
|
当点击页面中的e时,页面会重定向到/a/b
React Router的应用
路由保护
假如有一些页面是只有登录才可见的,我们就可以对一些受保护的页面进行封装
1
2
3
4
5
6
7
8
9
10
11
12
13
14
15
16
17
18
19
20
21
22
23
24
25
26
27
28
|
import React from 'react'
import { Route, Redirect } from "react-router-dom"
import loginInfo from "./loginInfo"
export default function ProtectedRoute({ component: Component, children, render, ...rest }) {
return <Route {...rest}
{/* render是匹配上后要渲染的节点 */}
render={values => {
{/* 已经登录 直接显示 */}
if (loginInfo.isLogin) {
//可以正常展示页面
return <Component />
}
else {
{/* 没有登录就进行重定向 */}
return <Redirect to={{
pathname: "/login",
{/* 把当前页面的url传过去,这样可以跳转回来 */}
state: values.location.pathname
}} />
}
}}
/>
}
|
实现Vue路由模式
Vue-Router使用的是一个配置文件来进行静态路由,像我这种喜欢用Vue的还是喜欢这样的配置方式的
我们可以使用React模拟实现这样的效果
新建下面的文件
1
2
3
4
5
6
7
8
9
10
11
12
13
14
15
16
17
18
19
20
21
22
23
24
25
26
27
28
29
30
31
32
33
34
35
36
37
38
39
40
41
42
43
44
45
|
import React from 'react'
import { Route, Switch } from "react-router-dom"
import routeConfig from "./routeConfig"
function getRoutes(routes, basePath) {
if (!Array.isArray(routes)) {
return null;
}
var rs = routes.map((rt, i) => {
const { children, name, path, component: Component, ...rest } = rt;
let newPath = `${basePath}${path}`;
newPath = newPath.replace(/\/\//g, "/");
return (
<Route key={i} {...rest}
path={newPath}
render={values => {
return <Component {...values}>
{getRoutes(rt.children, newPath)}
</Component>
}}
/>
)
});
return <Switch>
{rs}
</Switch>
}
export default function RootRouter() {
return (
<>
{}
{getRoutes(routeConfig, "/")}
</>
)
}
|
1
2
3
4
5
6
7
8
9
10
11
12
13
14
15
16
17
18
19
|
import Home from "./Home"
import News from "./News"
import NewsHome from "./NewsHome"
import NewsDetail from "./NewsDetail"
import NewsSearch from "./NewsSearch"
export default [
{
path: "/news", component: News, name: "news",
children: [
{ path: "/", name: "newsHome", exact: true, component: NewsHome },
{ path: "/dl", name: "newsDetail", exact: true, component: NewsDetail },
{ path: "/ser", name: "newsSearch", exact: true, component: NewsSearch }
]
},
{ path: "/", name: "home", component: Home },
]
|
1
2
3
4
5
6
7
8
9
10
11
12
13
14
15
16
17
18
19
20
21
22
23
24
25
26
27
28
29
30
31
32
33
34
35
36
37
38
39
|
import React from 'react'
import { Link } from "react-router-dom"
import routeConfig from "./routeConfig"
export default function Link({ to, ...rest }) {
if (to.name && typeof to !== "string") {
to.pathname = getPathFromName(to.name, "/", routeConfig);
if (to.pathname === undefined) {
throw new Error(`name属性值${to.name}无效`)
}
}
return <Link {...rest} to={to} />
}
function getPathFromName(name, baseUrl, routesArr) {
for (const item of routesArr) {
let newPath = baseUrl + item.path;
newPath = newPath.replace(/\/\//g, "/");
if (item.name === name) {
return newPath;
}
else {
if (Array.isArray(item.children)) {
const path = getPathFromName(name, newPath, item.children)
if (path !== undefined) {
return path;
}
}
}
}
}
|
在App中,进行顶级页面的渲染
1
2
3
4
5
6
7
8
9
10
11
12
13
14
15
16
17
18
19
20
| import React from 'react'
import { BrowserRouter as Router } from "react-router-dom"
import Link from "./Link"
import RootRouter from "./RootRouter";
import "./App.css"
export default function App() {
return (
<Router>
<nav>
<Link to={{name:"home"}}>首页</Link>
<Link to={{name:"news"}}>新闻页</Link>
</nav>
<div>
{}
<RootRouter />
</div>
</Router>
)
}
|
在New.js中,对子页面进行渲染
1
2
3
4
5
6
7
8
9
10
11
12
13
14
15
16
17
18
19
| import React from 'react'
import Link from "./BetterLink"
export default function News(props) {
return (
<div>
<nav>
<Link to={{ name: "newsHome" }}>新闻首页</Link>
<Link to={{ name: "newsDetail" }}>新闻详情页</Link>
<Link to={{ name: "newsSearch" }}>新闻搜索页</Link>
</nav>
<div>
{}
{props.children}
</div>
</div>
)
}
|
路由守卫
导航守卫是指在路由切换时,可以触发一些事件,并且可以阻止路由跳转
实现路由守卫需要用到一些新知识
history对象中包含下面的方法
listen: 添加一个监听器,监听地址的变化,当地址发生变化时,会调用传递的函数
- 参数:函数,运行时间点:发生在即将跳转到新页面时,函数有下面的参数
location对象,记录当前的地址信息action,一个字符串,表示进入该地址的方式
- PUSH:入栈
- REPLACE:替换
- POP:出栈,
- 通过点击浏览器后退、前进
- 调用
history.go
- 调用
history.goBack
- 调用
history.goForward
- 返回结果是一个函数,可以调用该函数取消监听
- block:是一个函数,用于设置一个阻塞,并同时设置阻塞消息,当页面发生跳转时,会进入阻塞,并将阻塞消息传递到路由根组件的
getUserConfirmation方法。
- 传入的函数有两个参数
- 调用后会返回一个回调函数,用于取消阻塞
如同上面说的,我们可以在路由根组件上设置getUserConfirmation方法,这个方法需要传入一个函数,同样的,这个函数也有两个参数
- 阻塞消息:每次
getUserConfirmation运行前,都会先调用block函数获取阻塞信息,这里的阻塞信息就是block的返回值
- 回调函数,调用该函数并传递true,则表示进入到新页面,否则,不做任何操作
下面是例子
1
2
3
4
5
6
7
8
9
10
11
12
13
14
15
16
17
18
19
20
21
22
23
24
25
26
27
28
29
30
31
32
33
34
35
36
37
38
39
40
41
42
43
44
45
46
47
48
49
50
51
52
53
54
55
56
57
58
59
60
61
62
63
64
65
66
67
68
69
|
import React, { Component } from 'react'
import { BrowserRouter as Router, withRouter } from "react-router-dom"
let prevLocation, location, action, unBlock;
class _GuardHelper extends Component {
componentDidMount() {
unBlock = this.props.history.block((newLocation, ac) => {
prevLocation = this.props.location;
location = newLocation;
action = ac;
return "";
});
this.unListen = this.props.history.listen((location, action) => {
if (this.props.onChange) {
const prevLocation = this.props.location;
this.props.onChange(prevLocation, location, action, this.unListen);
}
})
}
componentWillUnmount() {
unBlock();
this.unListen();
}
render() {
return null;
}
}
const GuardHelper = withRouter(_GuardHelper);
class RouteGuard extends Component {
handleConfirm = (msg, commit) => {
if (this.props.onBeforeChange) {
this.props.onBeforeChange(prevLocation, location, action, commit, unBlock);
}
else{
commit(true);
}
}
render() {
return <Router getUserConfirmation={this.handleConfirm}>
<GuardHelper onChange={this.props.onChange} />
{this.props.children}
</Router>;
}
}
export default RouteGuard;
|
1
2
3
4
5
6
7
8
9
10
11
12
13
14
15
16
17
18
19
20
21
22
23
24
25
26
27
28
29
30
31
32
33
34
35
36
37
| import React from 'react'
import { Route, Link } from "react-router-dom"
import RouteGuard from '../RouteGuard';
function Page1() {
return <h1>Page1</h1>
}
function Page2() {
return <h1>Page2</h1>
}
export default function App() {
return (
<RouteGuard
onBeforeChange={(prev, cur, action, commit, unBlock) => {
console.log(`页面想要从${prev.pathname}跳转到${cur.pathname},跳转方式是${action},允许跳转`)
commit(true);
}}
onChange={(prevLocation, location, action, unListen) => {
console.log(`日志:从${prevLocation.pathname}进入页面${location.pathname},进入方式${action}`)
}}
>
<ul>
<li>
<Link to="/page1">页面1</Link>
</li>
<li>
<Link to="/page2">页面2</Link>
</li>
</ul>
<Route path="/page1" component={Page1} />
<Route path="/page2" component={Page2} />
</RouteGuard>
)
}
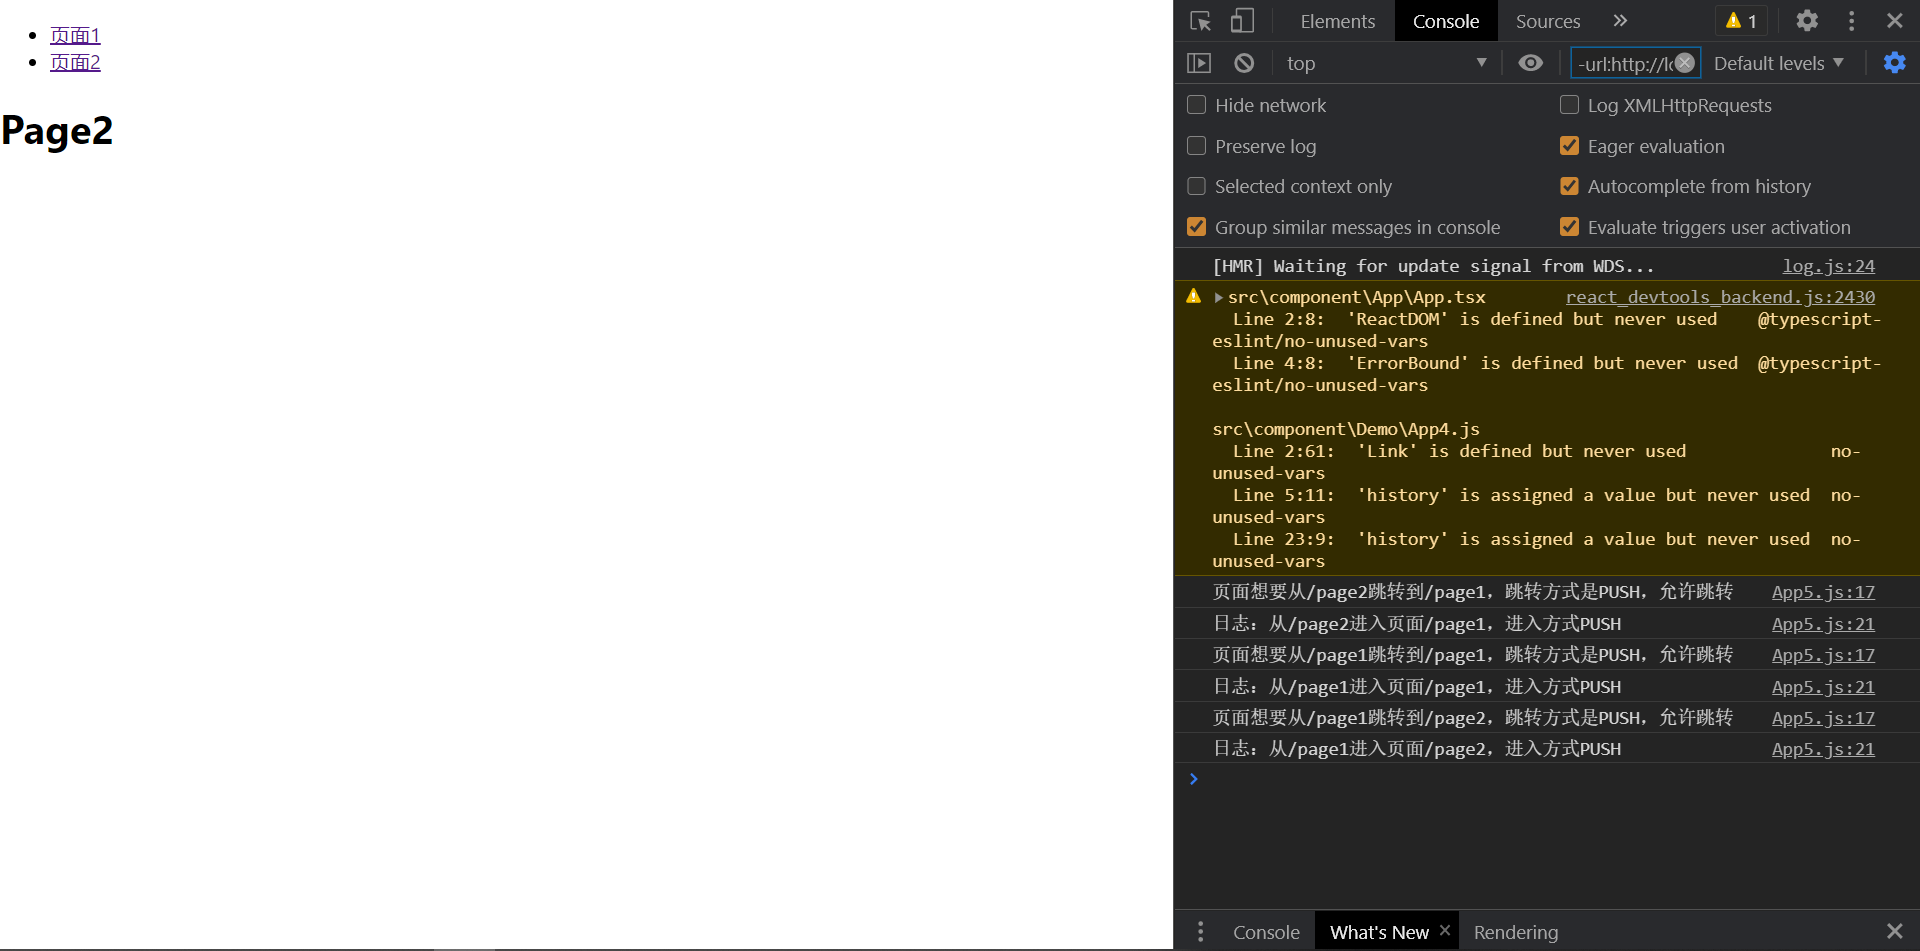
|
效果如下