前言 又到了快乐写博客的时间,今天来介绍一下,Vue路由的实现原理
超简易版 1 2 3 4 5 6 7 8 9 10 11 12 13 14 15 16 17 18 19 20 21 22 23 24 25 26 27 28 29 30 31 32 33 34 35 36 37 38 39 40 41 42 43 44 45 46 47 48 49 50 51 52 53 54 55 56 57 58 59 60 61 62 63 64 65 66 67 68 69 70 71 72 73 74 75 76 77 78 79 80 81 82 83 84 85 86 87 88 89 90 91 92 93 94 95 96 97 <!DOCTYPE html > <html lang ="en" > <head > <meta charset ="UTF-8" > <title > Title</title > <script src ="path-to-regexp.js" > </script > </head > <body > <script src ="https://cdn.bootcdn.net/ajax/libs/vue/2.6.9/vue.js" > </script > <script src ="./path-to-regexp.js" > </script > <div id ="app" > </div > <script > const Foo = { props: ['id' ], template: ` <div > foo with id: {{ id }} </div > ` } const Bar = {template : `<div>bar</div>` } const NotFound = {template : `<div>not found!</div>` } const routeTable = { '/foo/:id' : Foo, '/bar' : Bar } const compiledRoutes = [] Object .keys(routeTable).forEach(key => const dynamicSegments = [] const regex = pathToRegexp(key, dynamicSegments) const component = routeTable[key] compiledRoutes.push({ component, regex, dynamicSegments }) }) window .addEventListener('hashchange' , () => { app.url = window .location.hash.slice(1 ) }) const app = new Vue({ el: '#app' , data: { url : window .location.hash.slice(1 ) }, render (h ) const path = '/' + this .url let componentToRender let props = {} compiledRoutes.some(route => const match = route.regex.exec(path) componentToRender = NotFound if (match) { componentToRender = route.component route.dynamicSegments.forEach((segment, index ) => { props[segment.name] = match[index + 1] }) return true } }) return h('div' , [ h(componentToRender, {props}), h('a' , {attrs : {href : '#foo/123' }}, 'foo 123' ), ' | ' , h('a' , {attrs : {href : '#foo/234' }}, 'foo 234' ), ' | ' , h('a' , {attrs : {href : '#bar' }}, 'bar' ), ' | ' , h('a' , {attrs : {href : '#garbage' }}, 'garbage' ) ]) } }) </script > </body > </html >
还是很容易看出来的吧
就是一个监听路由变化然后重新渲染组件的套路,值得注意的是,Vue在data上挂载了一个url属性,在路由变化时会更新这个属性,因为在render中获取了这个url属性,也就是说,这个url属性可以拿到组件对应的渲染watcher,从而可以对组件进行重新渲染
简易版 然后我们用一个简易版的vue-router来更详细地说明原理
用vue-cli创建一个项目,目录大概是这样的(那个libs下的vue-router就是简易版的vue-router)
修改一下router/index.ts
1
2
3
4
5
6
7
8
9
10
11
12
13
14
15
16
17
18
19
20
21
22
23
24
25
26
27
28
29
30
31
import Vue from 'vue' import VueRouter from "../../libs/vue-router" ;import Home from '../views/Home.vue' import About from '../views/About.vue' ;import {RouteConfigType} from "../../libs/vue-router/type/RouteConfigType" ;Vue.use(VueRouter) const routes: Array <RouteConfigType> = [ { path: '/' , name: 'Home' , component: Home }, { path: '/about' , name: 'About' , component: About } ] const router = new VueRouter({ mode: 'history' , routes }) export default router
然后就是讲解环节~
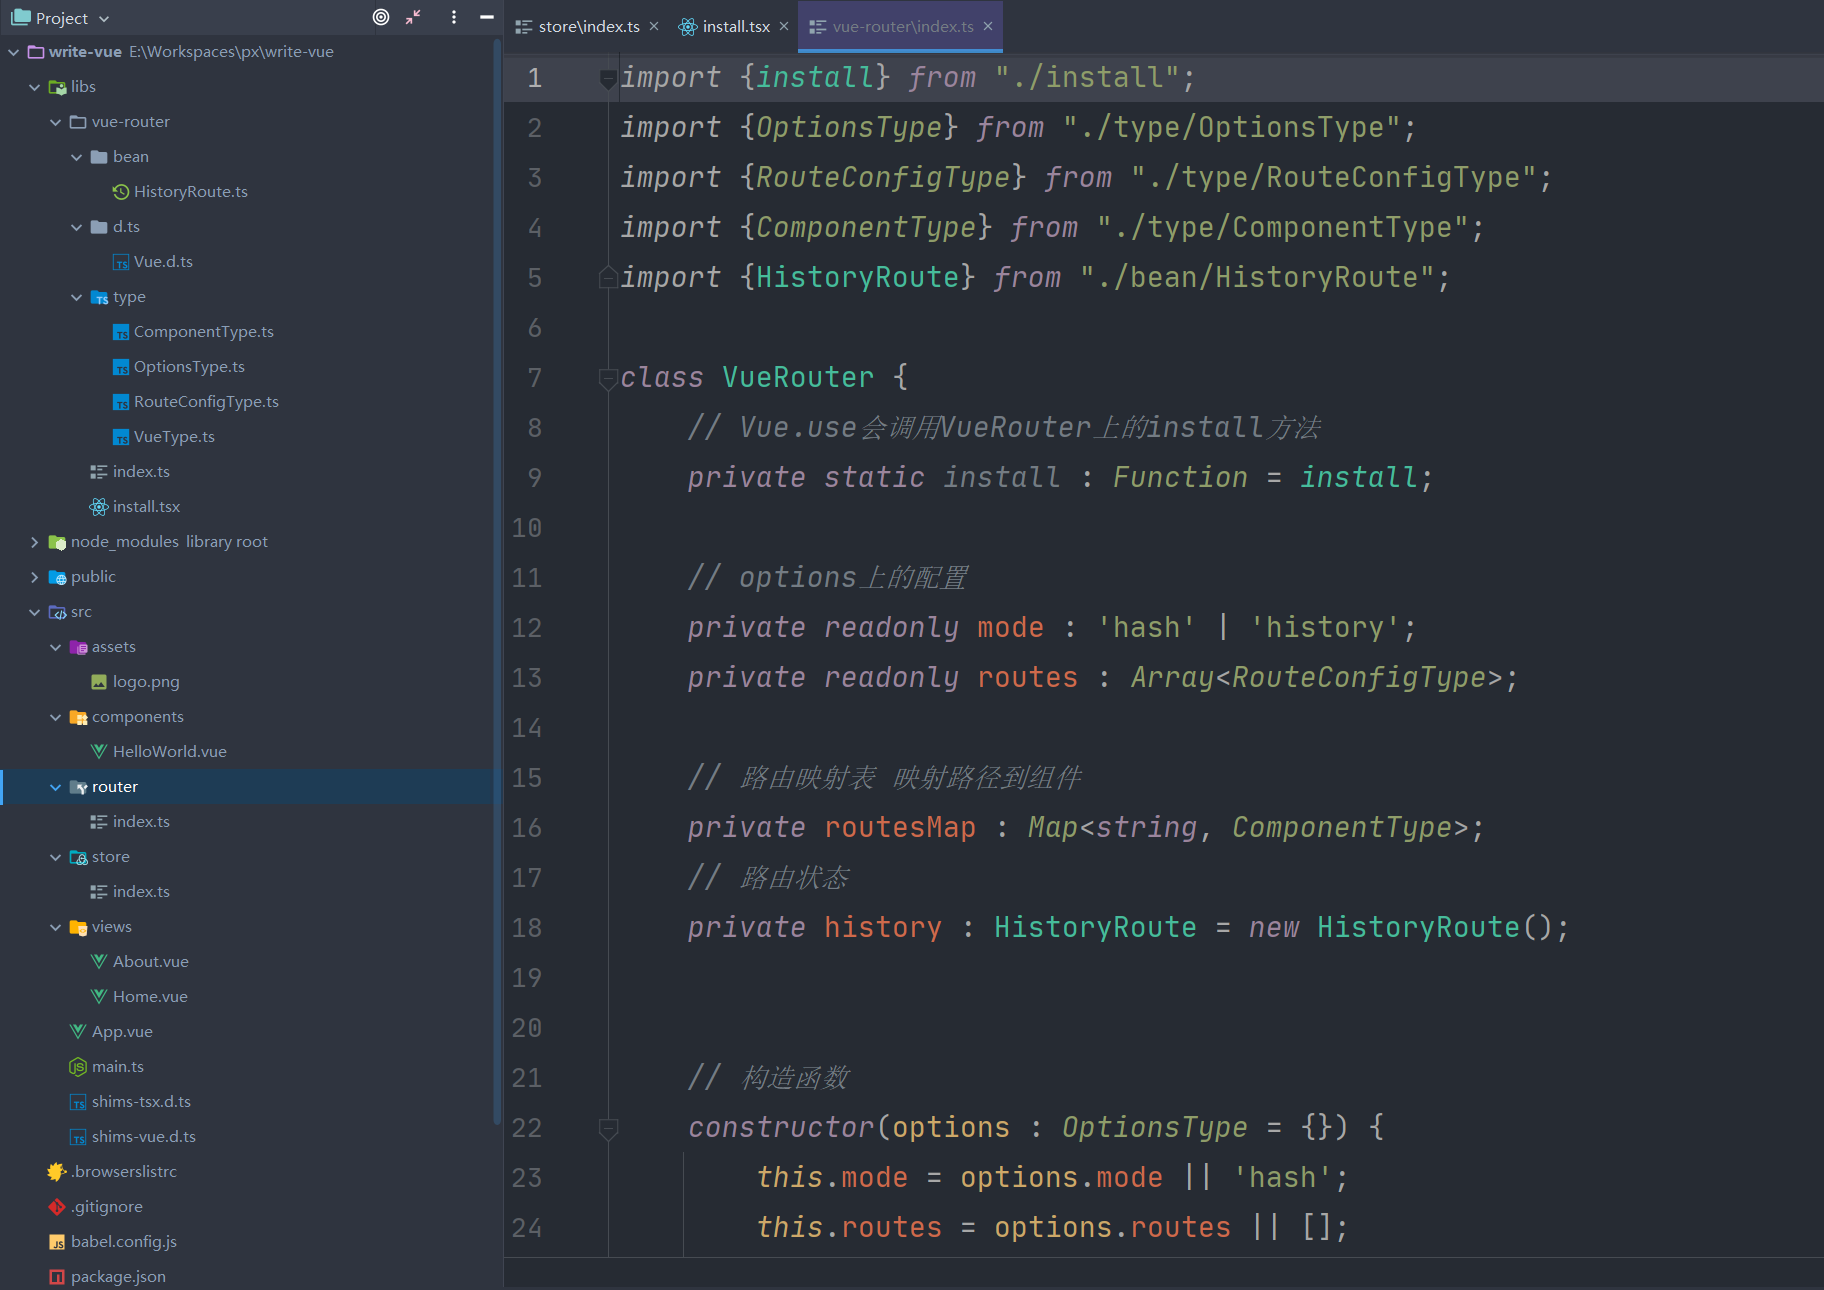
VueRouter类 1 2 3 4 5 6 7 8 9 10 11 12 13 14 15 16 17 18 19 20 21 22 23 24 25 26 27 28 29 30 31 32 33 34 35 36 37 38 39 40 41 42 43 44 45 46 47 48 49 50 51 52 53 54 55 56 57 58 59 60 61 62 63 64 65 66 67 68 69 70 71 72 73 74 75 76 77 78 import {install} from "./install" ;import {OptionsType} from "./type/OptionsType" ;import {RouteConfigType} from "./type/RouteConfigType" ;import {ComponentType} from "./type/ComponentType" ;import {HistoryRoute} from "./bean/HistoryRoute" ;class VueRouter private static install : Function = install; private readonly mode : 'hash' | 'history' ; private readonly routes : Array <RouteConfigType>; private routesMap : Map <string , ComponentType>; private history : HistoryRoute = new HistoryRoute(); constructor (options : OptionsType = {} ) this .mode = options.mode || 'hash' ; this .routes = options.routes || []; this .routesMap = this .createMap(this .routes); this .init(); } createMap(routes : Array <RouteConfigType>) : Map <string , any > { let map : Map <string , any > = new Map <string , any >(); for (const routeConfig of routes) { map.set(routeConfig.path, routeConfig.component); } return map; } private init ( if (this .mode === 'hash' ) { location.hash || (location.hash = '/' ); const updateHistory = () => { this .history.current = location.hash.slice(1 ); } window .addEventListener('load' , updateHistory); window .addEventListener('hashchange' , updateHistory) } else if (this .mode === 'history' ) { location.pathname || (location.pathname = '/' ); const updateHistory = () => { this .history.current = location.pathname; } window .addEventListener('load' , updateHistory); window .addEventListener('popstate' , updateHistory); } } public go ( } public push (path : string ) this .history.current = path; } public back ( } } export default VueRouter;
VueRouter的主要用处有三个
保存路由的相关配置
调用初始化监听路由的方法
切换路由(push方法)
可以看到,在constructor中,依次做了三件事
保存路由的相关配置
创建映射表
设置对路由的监听函数,如果是hash模式就用监听hashchange事件,history模式就用popstate事件
Install方法 Vue.use会调用VueRouter上的install方法,我们在router/index.ts中调用了Vue.use方法
1
2
3
4
5
6
7
8
9
10
11
12
13
14
15
16
17
18
19
20
21
22
23
24
25
26
27
28
29
30
31
32
33
34
35
36
37
38
39
40
41
42
43
44
45
46
47
48
49
50
51
52
53
54
55
56
57
58
59
60
export function install (Vue : VueConstructor, opts : any ) let enterRoot = false ; Vue.mixin({ beforeCreate (this : Vue & any if (this .$options && this .$options.router) { enterRoot = true ; this ._root = this ; this ._router = this .$options.router; Vue.util.defineReactive(this , '$history' , this ._router.history); } else if (enterRoot){ this ._root = this .$parent._root; } Object .defineProperty(this , '$router' , { get(): any { return this ._root._router; } }); Object .defineProperty(this , '$route' , { get(): any { return { current : this ._router.history.current } } }) } }) Vue.component('router-link' , { props : { to : String , tag : String }, render (this : any , createElement, context let mode = this ._self._root._router.mode; return (<a onclick ={() => {this._self._root._router.push(this.to)}}>{this.$slots.default}</a > } }); Vue.component('router-view' , { render (this : any , createElement, context let current : string = this ._self._root._router.history.current; let routeMap : Map <string , ComponentType> = this ._self._root._router.routesMap; return createElement(routeMap.get(current)); } }) }
可以看到,install方法主要做了两件事
通过mixin在每个组件实例上混入路由实例
定义响应式的history对象
定义router-link和router-view组件
其中第二和第三点是路由切换就可以刷新视图的关键,我们都知道,组件有一个渲染Watcher,在组件渲染时,组件的渲染watcher会存放到Dep.target上,而也就是说router-view在渲染时会保存渲染watcher到Dep.target上,而current已经被做成了响应式数据,也就是说在current的get方法中可以使用收集到router-view的渲染watcher,所以在current变化时,可以通知router-view重新渲染组件
复杂版 这个版本添加了子路由的功能
VueRouter类 1 2 3 4 5 6 7 8 9 10 11 12 13 14 15 16 17 18 19 20 21 22 23 24 25 26 27 28 29 30 31 32 33 34 35 36 37 38 39 40 41 42 43 44 45 46 47 48 49 50 51 52 53 54 55 56 57 58 59 60 61 62 63 64 65 66 67 68 69 70 71 72 73 74 75 76 77 78 79 80 81 82 83 84 85 86 87 88 89 90 91 92 93 94 95 96 97 import {install, _Vue} from "./install" ;import {OptionsType} from "./type/OptionsType" ;import {RouteConfigType} from "./type/RouteConfigType" ;import {createMatcher} from "./util/createMatcher" ;import HashHistory from "./bean/History/HashHistory" ;import BrowserHistory from "./bean/History/BrowserHistory" ;import {RouteHookType} from "./type/RouteHookType" ;class VueRouter private static install : Function = install; private readonly mode : 'hash' | 'history' ; private readonly routes : Array <RouteConfigType>; private readonly options : OptionsType; private readonly history !: HashHistory | BrowserHistory; public readonly beforeEachHooks : Array <RouteHookType> = [] private matcher : { addRoutes : Function , match : Function } constructor (options : OptionsType = {} ) this .options = options; this .mode = options.mode || 'hash' ; this .routes = options.routes || []; this .matcher = createMatcher(this .routes); switch (options.mode) { case "hash" : this .history = new HashHistory(this ); break ; case "history" : this .history = new BrowserHistory(this ); break ; default : break ; } } private init (app : any ) const history = this .history; const setupListener = () => { history.setupListener(); } history.transitionTo(history.getCurrentLocation(), setupListener); history.listen((route : any ) => { app._route = route; }) } match (location : string ) return this .matcher.match(location); } beforeEach (fn : RouteHookType ) this .beforeEachHooks.push(fn); } public go ( } public push (path : string ) this .history.push(path); } public back ( } } export default VueRouter;
原理和上面一样,都是在初始化时进行一次渲染,然后监听路由的变化,路由变化后重新对组件进行渲染
然后看一下createMatcher
1
2
3
4
5
6
7
8
9
10
11
12
13
14
15
16
17
18
19
20
21
22
23
24
25
26
27
28
29
30
31
32
33
34
35
36
37
38
39
40
41
42
43
44
45
46
47
48
49
50
51
52
53
54
55
56
57
58
59
60
61
62
63
64
65
66
import {RouteConfigType} from "../type/RouteConfigType" ;import {RecordType} from "../type/RecordType" ;import {createRoute} from "./createRoute" ;function createRouteMap (routes : Array <RouteConfigType>, oldPathMap ?: Map <string , RecordType> ) let pathMap : Map <string , RecordType> = oldPathMap || new Map <string , RecordType>(); function addRouteRecord (route : RouteConfigType, pathMap : Map <string , RecordType>, parent : RecordType | null = null ) let path = parent ? `${parent.path} /${route.path} ` : route.path; let record : RecordType = { path, parent, name : route.name, component : route.component, } if (!pathMap.get(record.path)) { pathMap.set(path, record) } if (route.children) { route.children.forEach((childRoute ) => { addRouteRecord(childRoute, pathMap, record); }) } } routes.forEach((route ) => { addRouteRecord(route, pathMap) }) return { pathMap } } export function createMatcher (routes : Array <RouteConfigType> ) let {pathMap} = createRouteMap(routes); function addRoutes ( createRouteMap(routes, pathMap) } function match (path : string ) let record = pathMap.get(path); return createRoute(record, { path }) } return { addRoutes, match } }
History类 history有BrowserHistory(使用H5 API)和HashHistory(使用Hash),但是它们有很多公用逻辑,所以我们可以把一些公用逻辑抽取出来
1 2 3 4 5 6 7 8 9 10 11 12 13 14 15 16 17 18 19 20 21 22 23 24 25 26 27 28 29 30 31 32 33 34 35 36 37 38 39 40 41 42 43 44 45 46 47 48 49 50 51 52 53 54 55 56 57 58 59 60 61 62 63 64 65 66 67 68 69 70 71 72 import VueRouter from "../../index" ;import {RecordType} from "../../type/RecordType" ;import {createRoute} from "../../util/createRoute" ;import {RouteHookType} from "../../type/RouteHookType" ;type CurrentType = { path : string , matched : Array <any > } function runQueue (queue : Array <RouteHookType>,iterator : Function , cb : Function ) function next (index : number ) if (index >= queue.length){ return cb() } else { let hook = queue[index]; iterator(hook, () => next(index+1 )) } } next(0 ); } export default abstract class BaseHistory protected router : VueRouter; public current : CurrentType; private cb !: Function ; protected constructor (router : VueRouter ) this .router = router; this .current = createRoute(null , { path : '/' }); } public transitionTo (location : string , onComplete ?: Function ) let route = this .router.match(location); let queue : Array <RouteHookType> = [...this.router.beforeEachHooks]; const iterator =(hook : RouteHookType,cb : Function ) => { hook(route,this .current,cb); } runQueue(queue, iterator, () => { this .current = route; this .cb && this .cb(route); onComplete && onComplete(); }); } public listen (cb : Function ) this .cb = cb; } public abstract getCurrentLocation() : string ; protected abstract setupListener() : void ; protected abstract ensureSlash() : void ; public abstract push(path : string ) : void ; }
可以看到,BaseHistory实现了History的大致流程,并且定义了几个具体的抽象方法,而这几个方法需要具体的子类来实现
1 2 3 4 5 6 7 8 9 10 11 12 13 14 15 16 17 18 19 20 21 22 23 24 25 26 27 28 29 30 31 32 33 34 import BaseHistory from "./BaseHistory" ;import VueRouter from "../../index" ;export default class BrowserHistory extends BaseHistory constructor (router : VueRouter ) super (router); this .ensureSlash(); this .setupListener(); } protected ensureSlash ( location.pathname || (location.pathname = '/' ); } public setupListener ( const updateHistory = () => { this .transitionTo(this .getCurrentLocation()); } window .addEventListener('popstate' , updateHistory); } public getCurrentLocation() : string { return location.pathname } push(path: string ): void { this .transitionTo(path,()=> { window .history.pushState({}, "" , path); }); } }
1 2 3 4 5 6 7 8 9 10 11 12 13 14 15 16 17 18 19 20 21 22 23 24 25 26 27 28 29 30 31 32 33 34 35 36 import BaseHistory from "./BaseHistory" ;import VueRouter from "../../index" ;export default class HashHistory extends BaseHistory constructor (router : VueRouter ) super (router); this .ensureSlash(); this .setupListener(); } protected ensureSlash ( location.hash || (location.hash = '/' ); } public setupListener ( const updateHistory = () => { this .transitionTo(this .getCurrentLocation()); } window .addEventListener('hashchange' , updateHistory) } public getCurrentLocation() : string { return location.hash.slice(1 ); } push(path: string ): void { window .location.hash = path; } }
大概和上面的简易版差不多
Install方法 1 2 3 4 5 6 7 8 9 10 11 12 13 14 15 16 17 18 19 20 21 22 23 24 25 26 27 28 29 30 31 32 33 34 35 36 37 38 39 40 41 42 43 44 45 46 47 48 49 50 51 52 53 54 55 56 57 import {VueConstructor} from "./type/VueType" ;import {ComponentType} from "./type/ComponentType" ;import RouterLink from "./component/RouterLink" ;import RouterView from "./component/RouterView" ;let _Vue = null ;export function install (Vue : VueConstructor, opts : any ) _Vue = Vue; let enterRoot = false ; Vue.mixin({ beforeCreate (this : Vue & any if (this .$options && this .$options.router) { enterRoot = true ; this ._routerRoot = this ; this ._router = this .$options.router; this ._router.init(this ); Vue.util.defineReactive(this , '_route' , this ._router.history.current); } else if (enterRoot){ this ._routerRoot = this .$parent && this .$parent._routerRoot; } } }) Object .defineProperty(Vue.prototype, '$router' , { get(): any { return this ._routerRoot._router; } }); Object .defineProperty(Vue.prototype, '$route' , { get(): any { return { current : this ._routerRoot._route } } }) Vue.component('router-link' , RouterLink); Vue.component('router-view' , RouterView) } export {_Vue};
和上面一样,都是
通过mixin在每个组件实例上混入路由实例
定义响应式的history对象
定义router-link和router-view组件
其中我们看一下router-link和router-view组件
router-link挺简单的
1
2
3
4
5
6
7
8
9
10
11
12
13
14
15
16
17
18
19
export default { name : 'router-link' , props : { to : { type : String , required : true }, tag : { type : String , default : 'a' } }, render (this : any , h : Function let Tag = this .tag; return (<Tag onclick ={() => {this.$router.push(this.to)}}>{this.$slots.default}</Tag > } }
router-view稍微复杂一点
1
2
3
4
5
6
7
8
9
10
11
12
13
14
15
16
17
18
19
20
21
22
23
24
25
26
27
28
29
30
31
32
33
34
35
36
37
import {Vue} from "../type/VueType" ;export default { name: 'router-view' , functional: true , render (this : any , h: Function , {data, parent}: { data: any , parent: Vue & any } let route = parent.$route.current; let depth = 0 ; let records = route.matched; data.routerView = true ; while (parent) { if (parent.$vnode && parent.$vnode.data.routerView) { depth++; } parent = parent.$parent; } let record = records[depth]; if (!record) { return h(); } return h(record.component, data) } }
后记 Vue-Router的原理大概就是这样了,其实开始觉得很神奇,后面发现也不是很难orz
那么下次有机会康康Vuex吧